Yesterday I posted a Color Crave post that I just loved, and I was hoping that you did too. However, that is only the first half of the new series ;-) The second half is me showing you how you can recreate the Color Crave look...with any styling tips, ideas or thoughts I may have that might help! No, this isn't an Inspiration to Creation post where I break it down and do it myself - this Color Crave Recreated post shows you how to put the look together from items found around the wonderful world wide web ;-) Sounds fun, no? Plus, this post is much easier on my pocketbook...and that my loves is always a good thing!
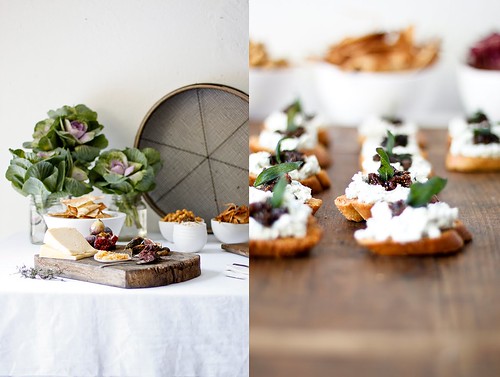
So are you ready? Let's start with the appetizer area first...
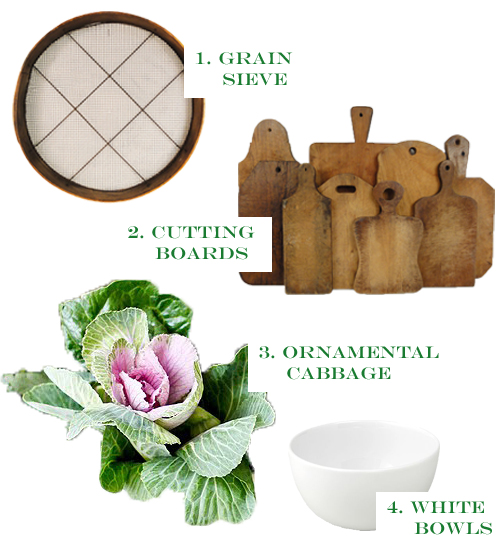
Recreated...
I think the use of old cutting boards is fabulous! They have the perfect look...so don't ever throw them away...just send them to me ;-) Also, I have used the giant cutting board, that the older homes have, before to serve up cheese and appetizers...so those work just as well...and of course are free!The table...
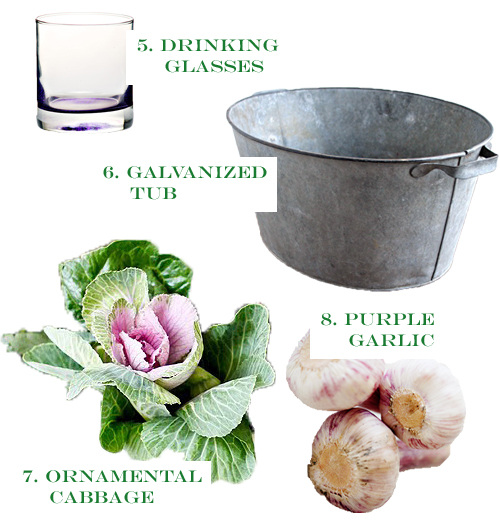
Recreated...
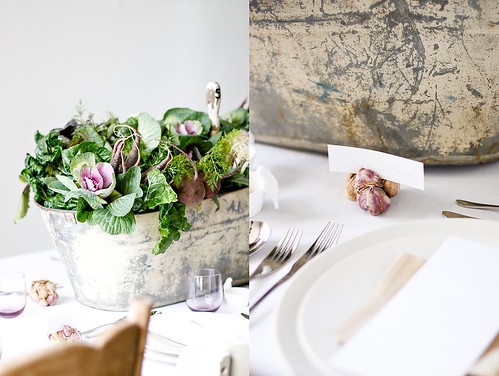
I have to say that I really am loving the placecard holders! To make, like the ones above, I would use a piece of toothpick to hold a couple of the smaller heads/cloves together. For the tub, you could always give it a spotted paint job. Once the paint is dry, take it outside and hose it off, then let dry in the sun. Repeat hosing it off and drying for a couple days to get a worn with a bit of rust look...you be the judge on the look you want ;-) You could do this with the new tubs too which are a lot easier on the pocketbook than vintage ones ;-) And don't forget the table number marker either loves (in the first picture with a 5 on it)...just grab some old handheld garden tools (or buy them) and write a number on the handle and place in tub...easy peasy!And finally the wishes spot, as I'm calling it...
Recreated...
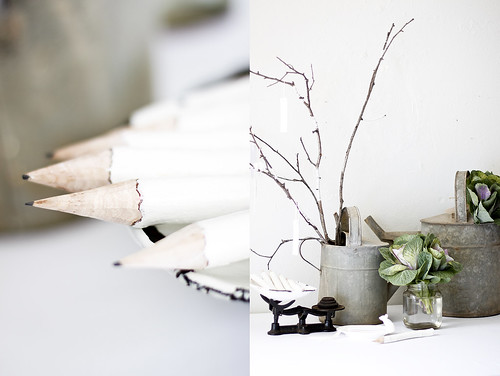
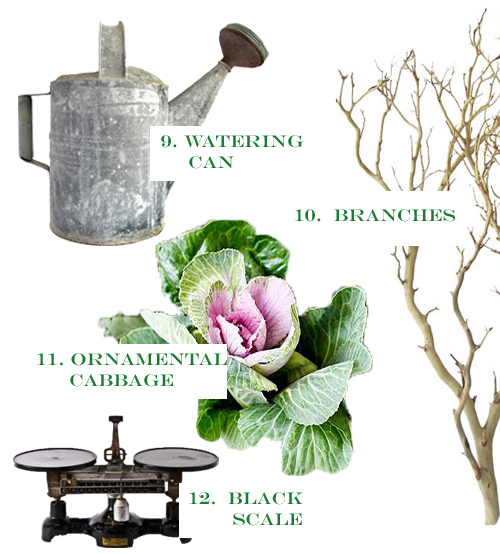
I have one recommendation in this area - make sure to weigh the watering can down with some rocks so the branches don't tip it over! Also, I know I included a balance scale similar to the original picture, yet an old kitchen scale like this would work just as well, for a lot less...and just so you know, I REALLY want to buy it ;-) Plus, one little detail that you might have missed (you can see it better in yesterday's bigger picture) is the white string wrapped around the branches...just adds a thoughtful extra touch I think!
Did you notice the common elements in each area? Well of course the ornamental cabbage (love the color) and crisp white linens, but also in each area there was a vintage element (grain sieve and cutting boards in the first; a galvanized tub in the second; and, the watering cans in the third) that helped tie the overall look together from one area to the other.
I have to add that if I knew that this is how I wanted to decorate for my wedding, I would be planting ornamental cabbages from seed or small plant in every pot I could find. I would add some carrots and beets and other veggies too.
Really, this whole look can be created for not that much if you plan ahead and pick up a few key vintage elements. Oh, and for the jars that hold the ornamental cabbage, I would just use jars from the kitchen like empty spaghetti sauce jars, olive jars, etc...simple and free ;-) Ooh, don't you think this would be perfect for a rehearsal dinner too? Yes, I LOVE this idea for a rehearsal dinner or even a bride and groom shower!
Hope you enjoyed this new series loves! Here is where to get your hands on the above items...
The Shopping List
1. Large Antique Sieve, 2. Antique Collection of Cutting Boards, 3. Ornamental Cabbage - local nursery, 4. White Bowls, 5. Drinking Glasses, 6. Galvanized Tub, 7. Ornamental Cabbage - local nursery, 8. Purple Garlic - specialty grocery store, 9. Watering Can, 10. Branches from your yard or here, 11. Ornamental Cabbage - local nursery and 12. Vintage Scale~ Ciao
...images via a magazine moment


Kristi, I'm absolutely SMITTEN-how gorgeous!
ReplyDeleteThose are great idea Kristi. I love how you organize it. Keep it up!
ReplyDelete