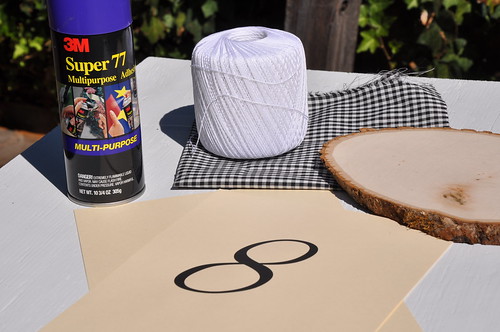
Project #1
For the first project I used spray adhesive, a number printed on cardstock, gingham fabric, and some thread...
I applied spray adhesive to a blank piece of cardstock, and then placed the fabric on top. Next I cut out the number...
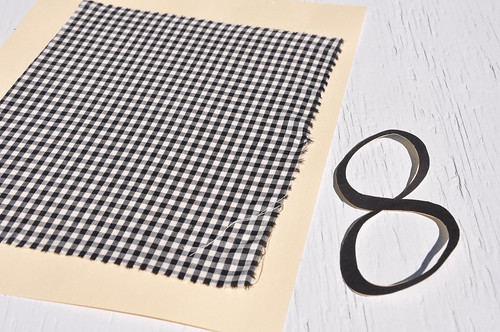
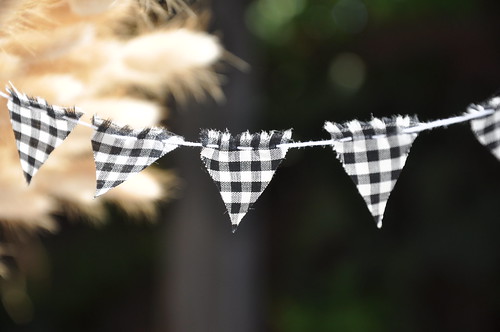
I flipped the cardstock with fabric over, and traced the number onto the back..making sure to flip the number over as well, otherwise it will be backwards! Then I cutout it out. The reason for the fabric on cardstock is that it makes the fabric easier to cut cleanly and adds some stiffness to the number. Next I threaded the thread through a couple of triangle pieces I cut from the gingham...
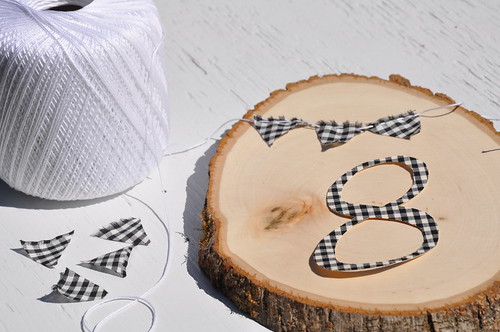
For the fabric number to stick to the wood, I just used some spray adhesive. Yet, for the bunting I didn't want the little flags stuck in place so I used some tape on the backside to hold in place. Here is the final product...
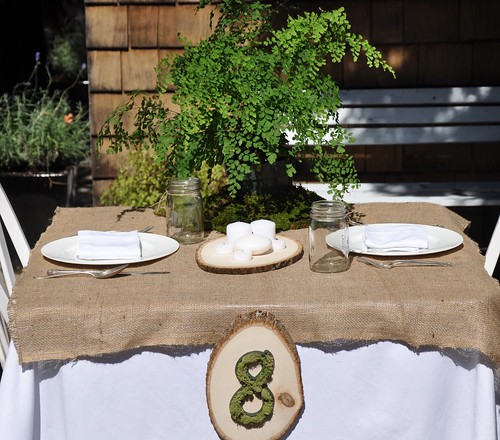
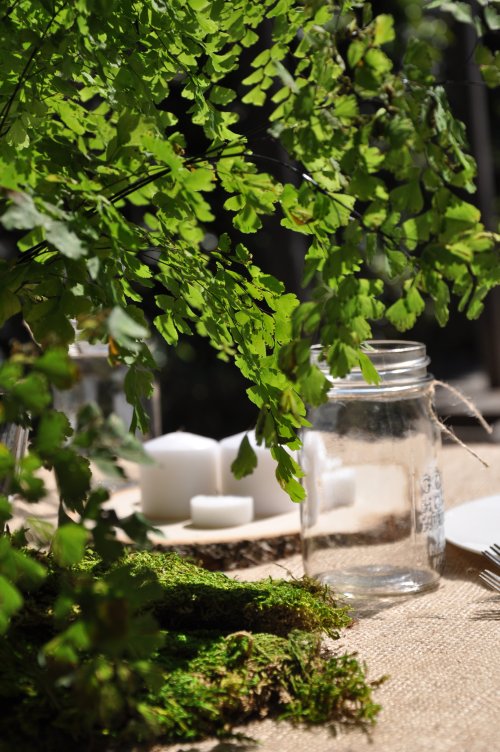
 And you know I had to do some tabletop decorating...
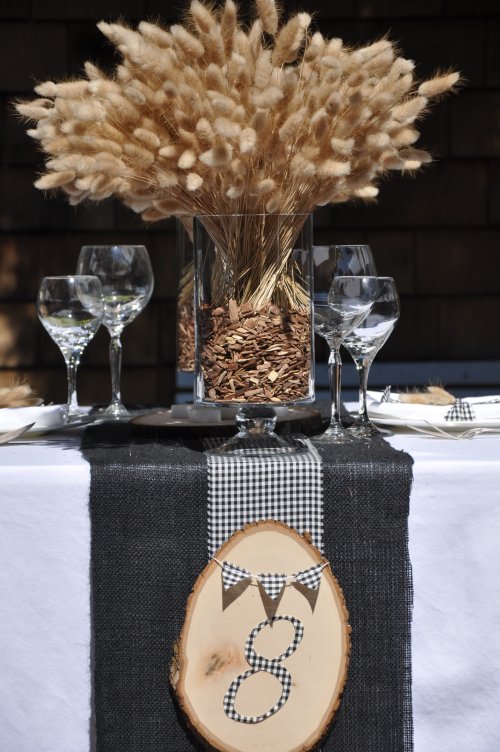
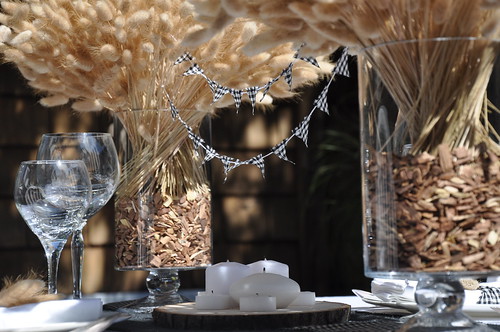
Do you think I could have cut the burlap straight? Nope! Anyway, the fluffies have made a comeback...they were better behaved this time around...
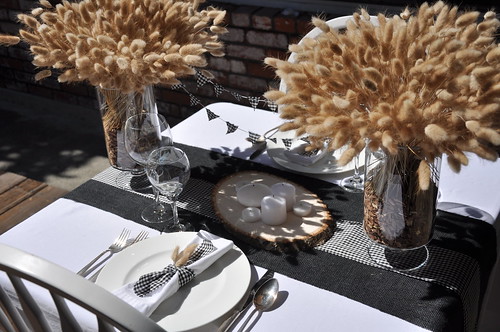
I thought it would be cute to use the bunting on the table too! I just attached the ends to sticks inside the fluffies. And of course, those are wood chips for a grill in the bottom of the jars...you've seen me use those before.
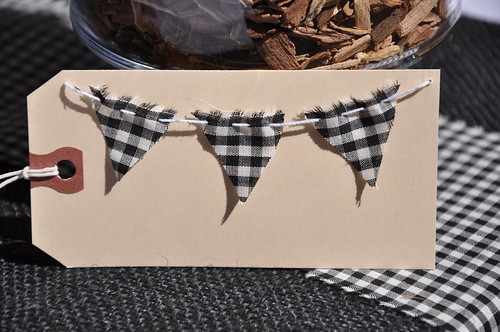
Believe it or not, I sat in the chairs to make sure the bunting wasn't in the way of seeing the guest across the table! Just something to keep in mind. Plus as an added little bonus, I thought it would be cute to carry the bunting onto seating cards as well...just write the names on the cards and you're done...
Project #2
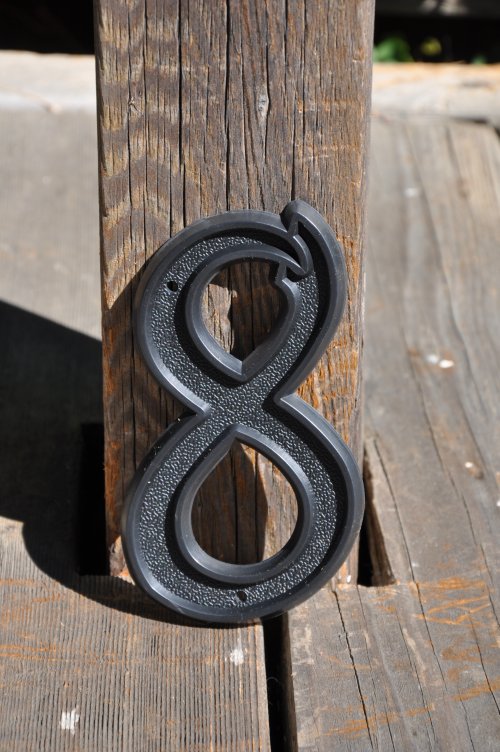
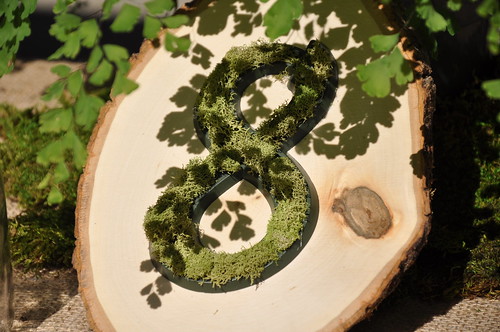
For this project I used a plastic house number from Home Depot for $1.89, spray paint and some moss. I chose this plastic number because it has the perfect spot to place the moss in...
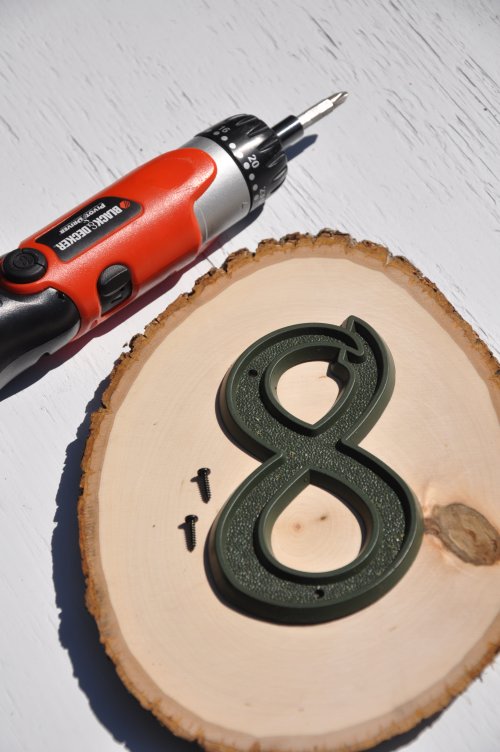
I spray painted the number a moss green color and then screwed the number into the wood round...
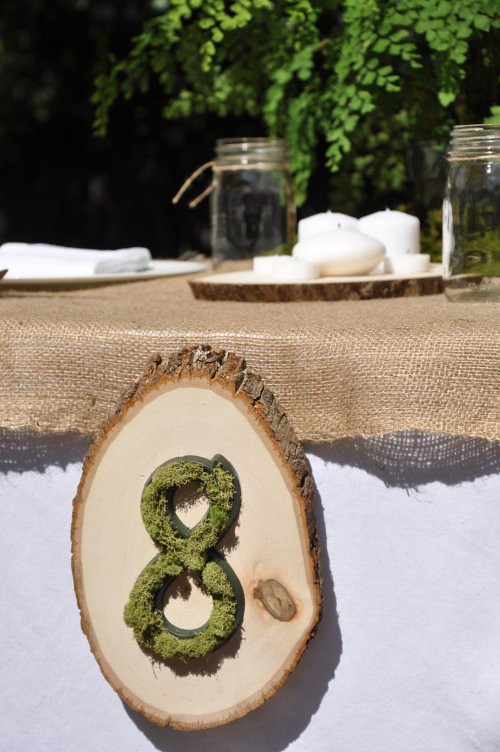
I then hot glued the moss into the grooves. Pretty easy, no? Here is the final product...

Whew...you still with me? Stay tuned for part II - promise it isn't as big as this post!
~ Ciao
...photography by me


are you kidding me kristi? i absolutely love this!!! Your homemade projects are not only beautiful but easy too!! great job!!
ReplyDeletePlease tell me you entered the Ruffled DIY challenge!!! You are amazing!!!
ReplyDeleteYes you should enter the Ruffled DIY challenge! Seriously! These are great, sissy!
ReplyDeleteNaomi i was just thinking the same thing!!!! Kristi must enter the Ruffled DIY challenge!!! These are awesome ideas and seem so easy to do!
ReplyDeleteWell aren't you a freakin' genius?! (The answer is 'YES' in case anybody didn't know) I. LOVE. THESE. Please enter the DIY contest. xoxo
ReplyDeleteOMG I wanna come play with you and have some fun together! You're super dooper clever!
ReplyDelete