Project #3
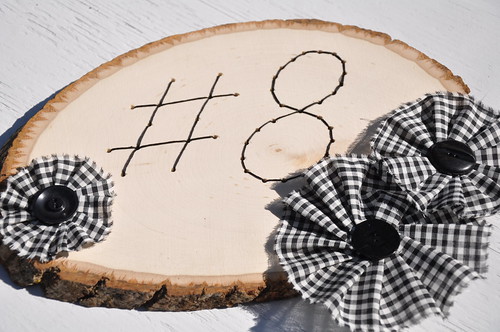
For this project I used a wood round, a drill press, a number that I printed out and cut out, and an embroidery needle and some thread. First I printed out #and an 8 onto paper, and then cut them out. I then placed them on the wood and used a push pin to mark spots into the wood every so often. Next I used a pencil to make the pin marks darker and more visible to see. (I forgot to take pics of these steps...blonde moment I think...but if you'd like leave a comment and I can send you step by step instructions.) And then Mr. Big went across the street to Bob's to use his drill press - be safe here!

We don't have a drill press (yet), but I am sure that someone you know does...dad, brother, uncle, guy across the street or friend and would be willing to help out or let you use it. Anyway, this is what it looks like with the holes drilled in...


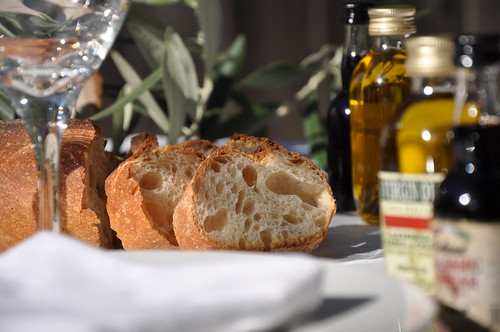
How cute are those mini olive oils and balsamic vinegar bottles? Found them at Cost Plus, and love them...

Project #4
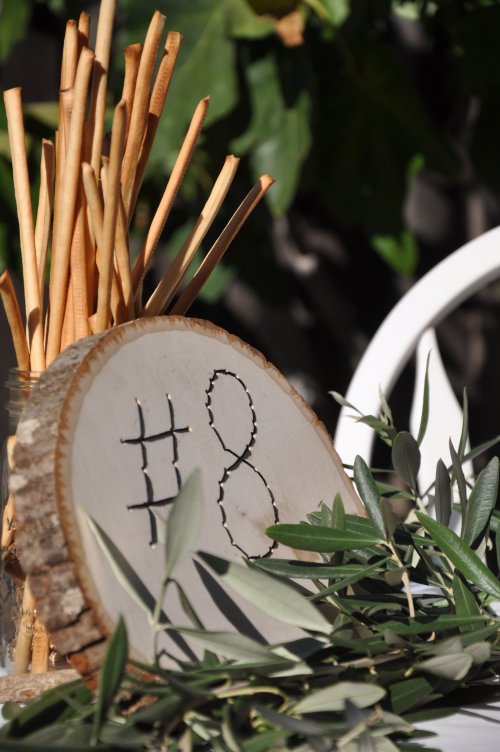
This final project is like the one above, but I wanted to show you that with a little imagination, a drill press and some colored thread you can create some wonderful things! Here is one I that I saw that I loved...
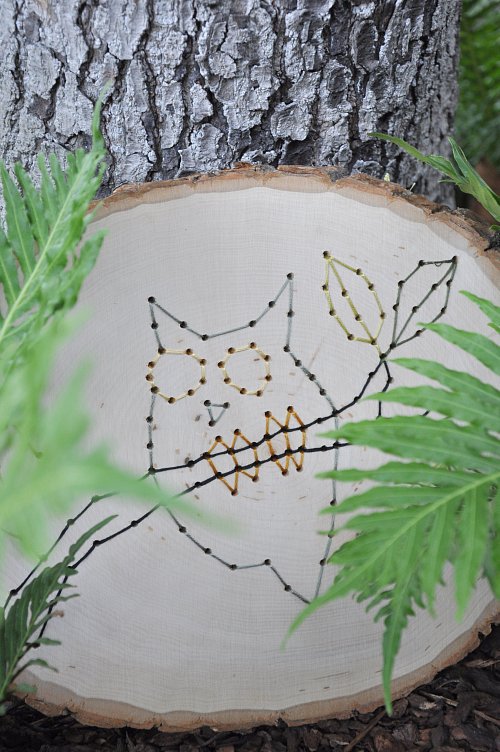

I think these would be adorable instead of using table numbers...I would have an owl table, a squirrel, an acorn, a deer, some fall leaves...just use the same animal outline on the escort cards!
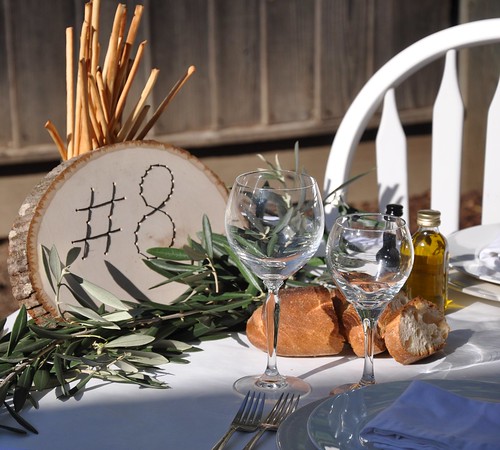
But how cute would they be with bride and groom printed on them and hung on the back of their chairs. Or with initials, date, words, etc... Go on, get creative!!!
Finally...that's all folks!
~ Ciao
...photography by me


stitching on wood!! are you kidding me ...i love that ...especially love the owl
ReplyDeleteWHOA - crafty cool at its best! (Kim @BrideGoggles)
ReplyDeleteWOW... love love love!!! These are so cute, such a clever idea!!!
ReplyDeleteFYI - you area amazing.
ReplyDeleteOMG - you are crazy crafty! These are awesome! AND cute :)
ReplyDeleteHOLY MOLY!!! You are the DIY queen.... these are simply fabulous and so are you!! xx
ReplyDelete