Showing posts with label Moss. Show all posts

7.15.2011

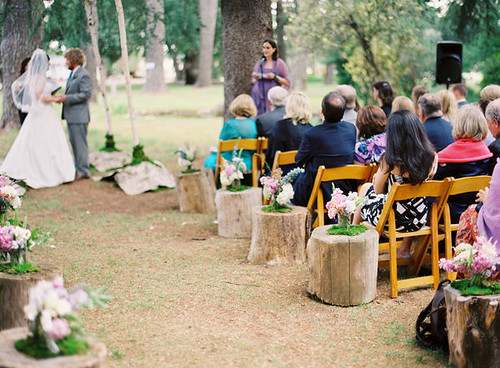
Aisle Style: Stumpendous

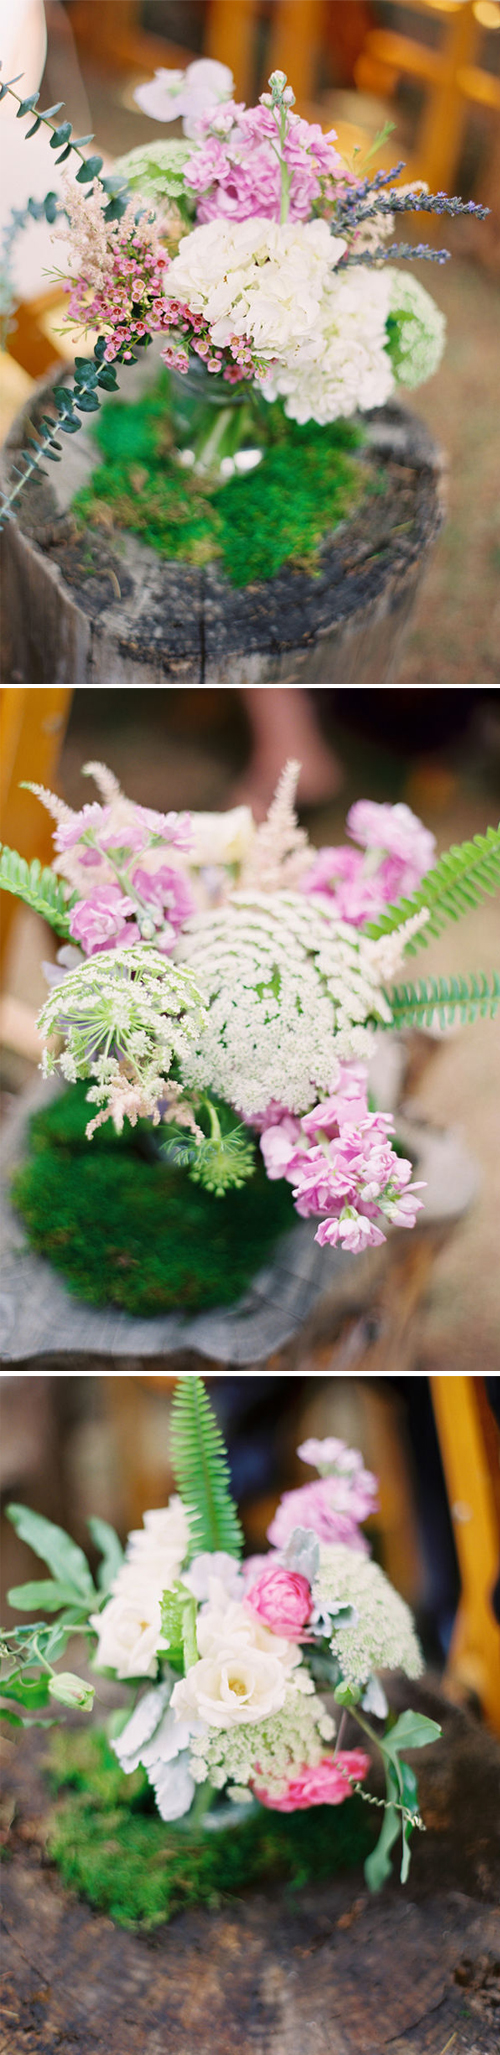
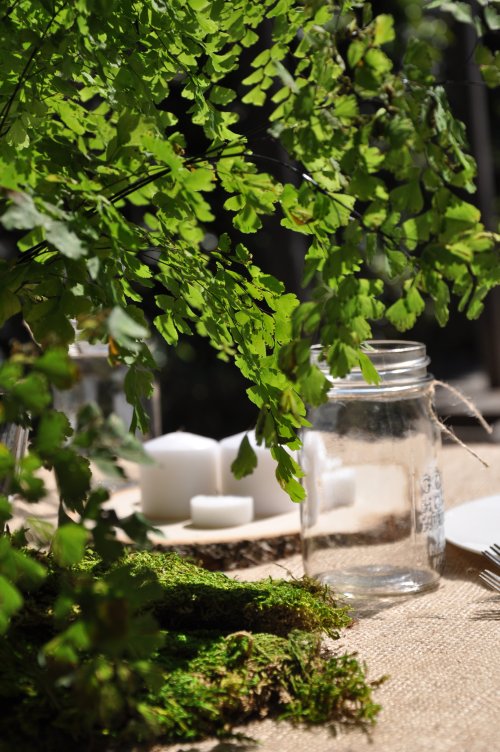
Eeks - moss, Queen Anne's Lace, ferns and flowers all atop stumps - yep, you bet your buttons my hearts all a flutter!  Oh you know how I feel about moss ;-)  Anyhoo, tree stumps do make for some fabulous aisle decor, no?
Aisle Style
However, I have to be honest here and say that I am NOT loving the chairs above...it's the color of them that's not working for me, especially in the location with the other decor.  I would love to have seen wooden benches, hay bails with fabric and a wooden plank or even chairs in a different color.  But we aren't here to talk about the chairs are we?  No, we're here to talk about the aisle decor.  And I DO (hehe) love the stumps!  Here are a couple close up pics of the flowers and moss for you my darlings...
Aisle Style
Oh so pretty, no?  And this style really is achievable too.  Some wood stumps, mason jars filled with a variety of flowers and some moss...and voila - stumpendous aisle decor!

~ Ciao

...photography by desi baytan via style me pretty

6.14.2011

Tuesday Thought: Ring Holder

Good morning darlings!  How has your morning been going so far?  Mine has been busy, but I like busy.  Plus it's supposed to get a little toasty here today, 84 is what they are predicting, so I see a nice long walk after a light dinner later...which always makes me happy ;-)

So are you ready for your "Tuesday Thought' for today?  I have to tell you - I am loving this thought ;-)  Have a look-see at what inspired me...
Homemade
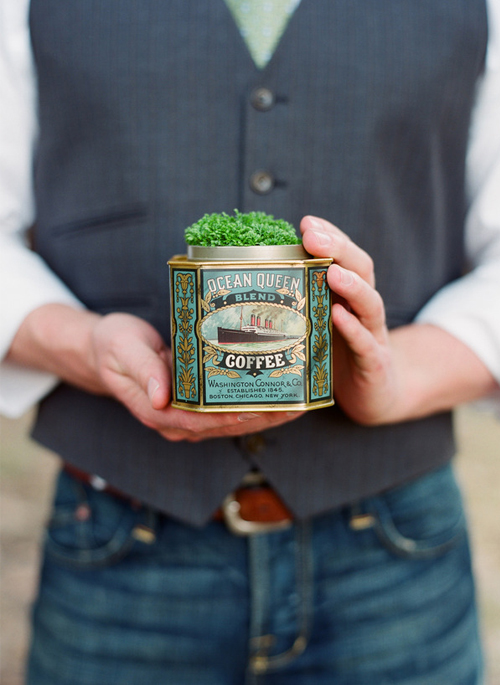
A vintage tin filled with moss - L-O-V-E!  And anyone that knows me, knows I LOVE moss and vintage...and this picture has both...so of course I had to think of some way in which to actually use something just like this.  And then it hit me...

So here is your Tuesday Thought for today:  Use this moss filled vintage tin to hold the rings!  The ring bearer could hold this tin with the rings attached as he walks up the aisle - cute, no?  Just add a small stick, stake or even a pretty pin to attach some ribbon or twine and the rings too and you'll be good to go.

~ Ciao

...photography via elizabeth messina via kiss the groom

4.21.2011

Over the Moon

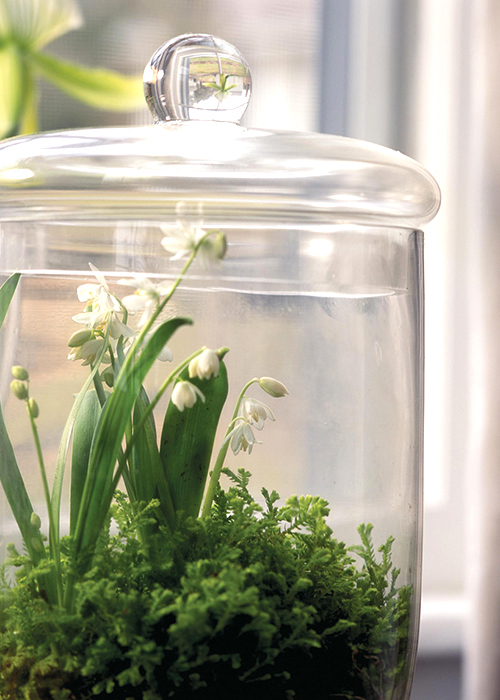
...about pretty Spring terrariums!
lily of the valley terrarium via country home
I love how they are simply filled with moss and petite blooms.  They would make beautiful centerpieces at a Spring soiree.  Ooh, how pretty would a handful of them be, in a variety of sizes, on an escort table, welcome table or favor table?  Yes, a favor table with lots of terrariums and favors of the same flower that is inside the terrarium would be oh so pretty!

~ Ciao

...via country home

3.14.2011

Darling Detail No. 5: Moss & Wood

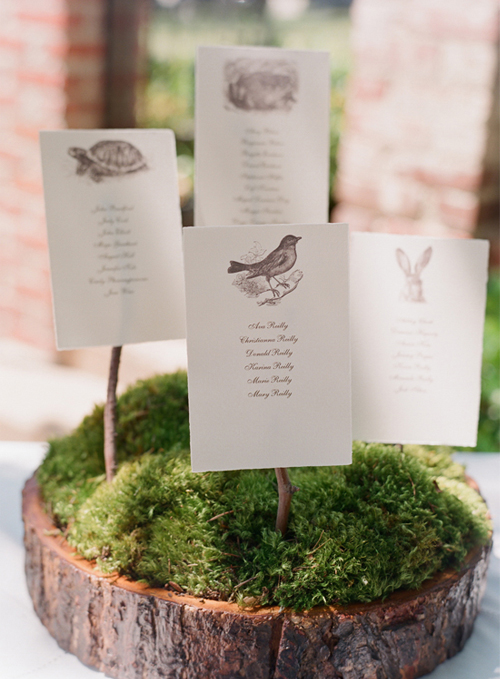
...has never looked so good!
Escort-pc-EM
You betcha I am over the moon about this!  I love that it is rustic and eco-friendly, yet still sophisticated.  Just darling, no?

~ Ciao

...photography by elizabeth messina via wedding chicks

2.28.2011

Flowerwild February: Day 20

Wow!  I can't believe that this is the last day of Flowerwild February.  Didn't it just seem like February 1st yesterday?  I have to be totally honest here - I really don't want Flowerwild February to end.  I have really enjoyed looking forward to putting together some flowery goodness for you each day, and know that I am going to really miss it.  So to say this last post is bittersweet is an understatement. 

However,  I am ending on a great note I think...as this last post has some of my favorite arrangements in it.  I am over the moon about the variety of vessels and flowers used for each arrangement, all of the different textures and the feathers!  Hope you enjoy this last post as much as I do...
FW-12
Eek - the last arrangement just gets me!  Seriously, how darling is it?  I just adore everything about it.

Also, I have to tell you that Kate, the designer and owner of Flowerwild, is just as fabulous as her arrangements!  I e-mailed her with a question that I received from someone, and not only did she get right back to me, she provided me with all the information that I had asked about. 

Kate will always be the first person I refer not just brides too, but anyone that is in need of flowers!  Thank you, thank you, thank you Kate for allowing me to post all of your AH.MAZ.ING arrangements all month long!!!  I sincerely appreciate it...mwah!

P.S. - Who knows...maybe I will do another month filled with flowery goodness!

~ Ciao

...images via flowerwild

9.30.2010

~ homemade: table numbers part I ~

Hello darlings!  Are you ready for Thursday's homemade project?  I hope so!  This week I have a couple different ways that you could make table numbers all using wood rounds.  And I will be splitting them between two posts.  In this post I will show you two fairly simple ways, and in the next post I will show you two more ways that are a little more difficult.  So lets get started shall we?

Project #1
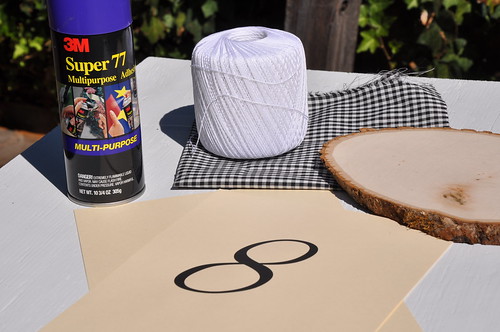
For the first project I used spray adhesive, a number printed on cardstock, gingham fabric, and some thread...
DSC_0810
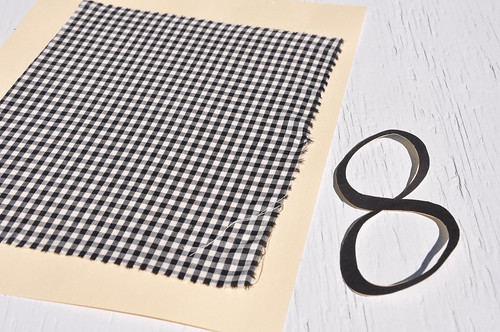
I applied spray adhesive to a blank piece of cardstock, and then placed the fabric on top.  Next I cut out the number...  
DSC_0812
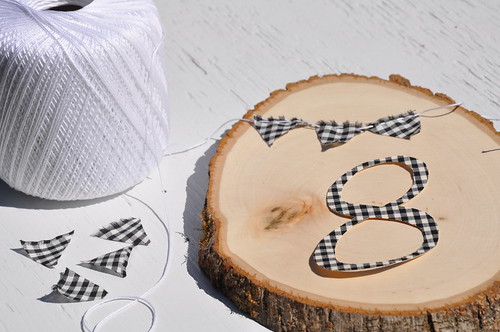
I flipped the cardstock with fabric over, and traced the number onto the back..making sure to flip the number over as well, otherwise it will be backwards!  Then I cutout it out.  The reason for the fabric on cardstock is that it makes the fabric easier to cut cleanly and adds some stiffness to the number.  Next I threaded the thread through a couple of triangle pieces I cut from the gingham...
DSC_0817
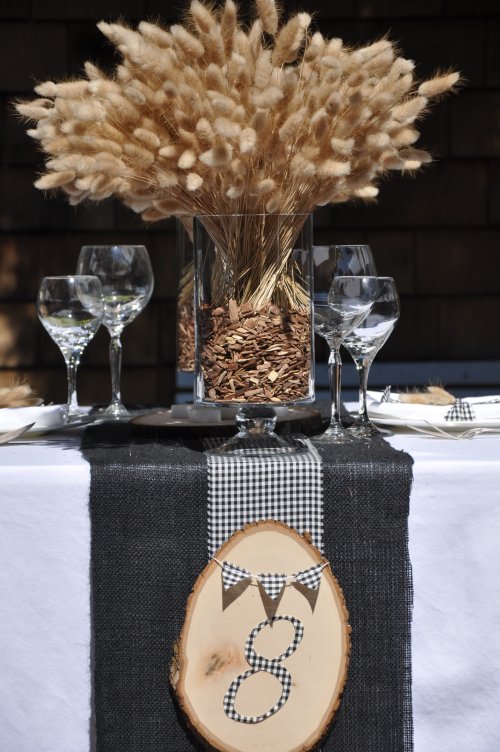
For the fabric number to stick to the wood, I just used some spray adhesive.  Yet, for the bunting I didn't want the little flags stuck in place so I used some tape on the backside to hold in place.  Here is the final product...
DSC_0045
And you know I had to do some tabletop decorating...
DSC_0098
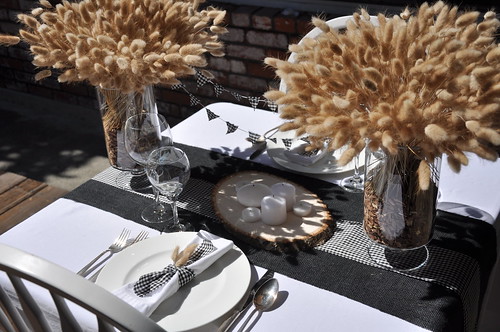
Do you think I could have cut the burlap straight?  Nope!  Anyway, the fluffies have made a comeback...they were better behaved this time around...
DSC_0073
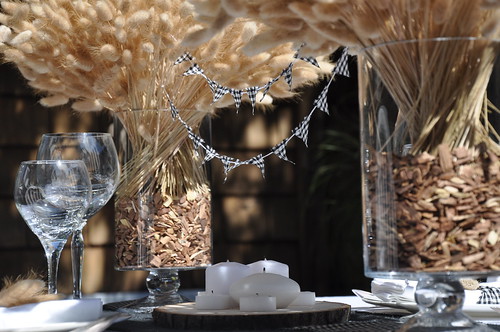
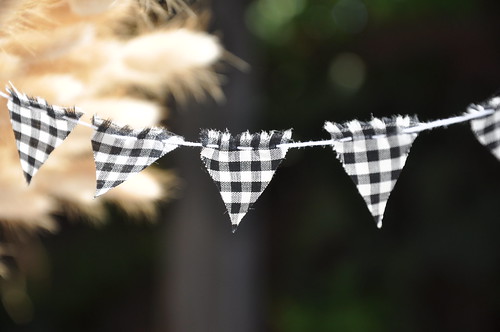
I thought it would be cute to use the bunting on the table too!  I just attached the ends to sticks inside the fluffies.  And of course, those are wood chips for a grill in the bottom of the jars...you've seen me use those before.
DSC_0049
Oh you know I love things that hang...
DSC_0055
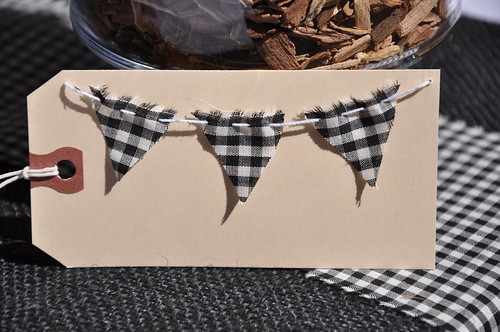
Believe it or not, I sat in the chairs to make sure the bunting wasn't in the way of seeing the guest across the table!  Just something to keep in mind.  Plus as an added little bonus, I thought it would be cute to carry the bunting onto seating cards as well...just write the names on the cards and you're done...
DSC_0080
Alrighty...on to the next project!

Project #2
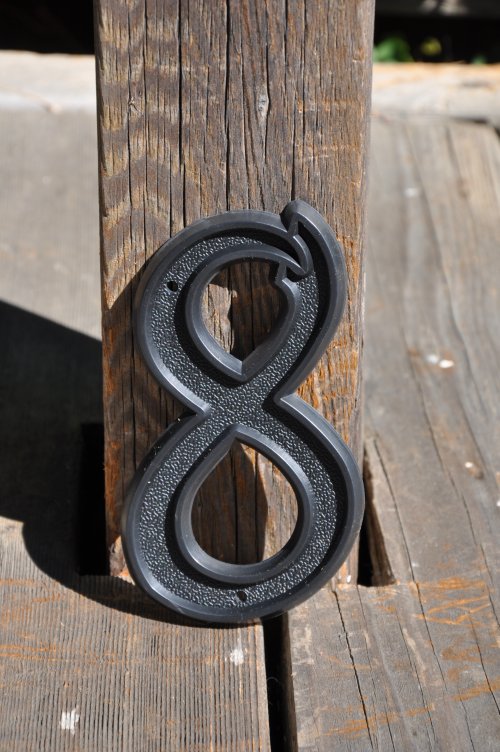
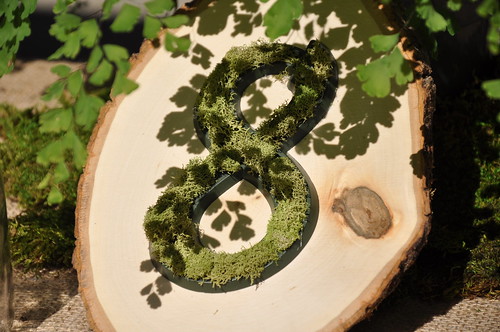
For this project I used a plastic house number from Home Depot for $1.89, spray paint and some moss.  I chose this plastic number because it has the perfect spot to place the moss in...
DSC_0783
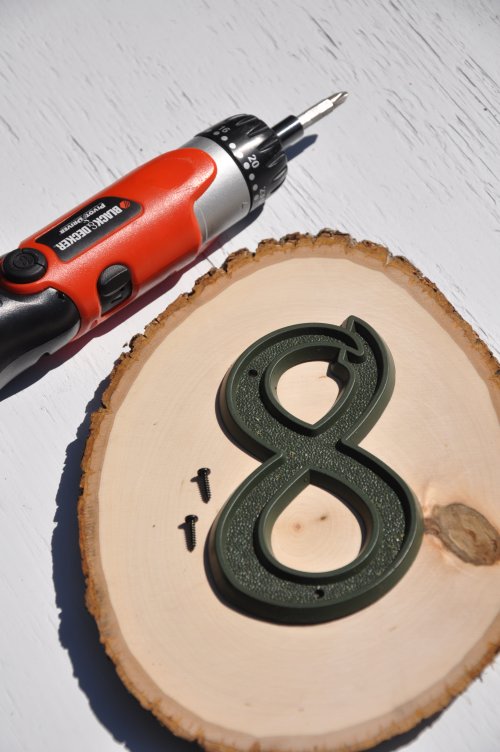
I spray painted the number a moss green color and then screwed the number into the wood round...
DSC_0102
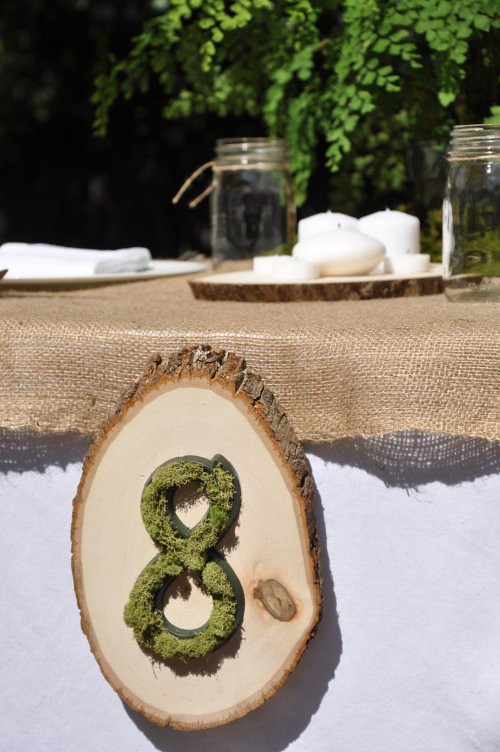
I then hot glued the moss into the grooves.  Pretty easy, no?  Here is the final product...
DSC_0115
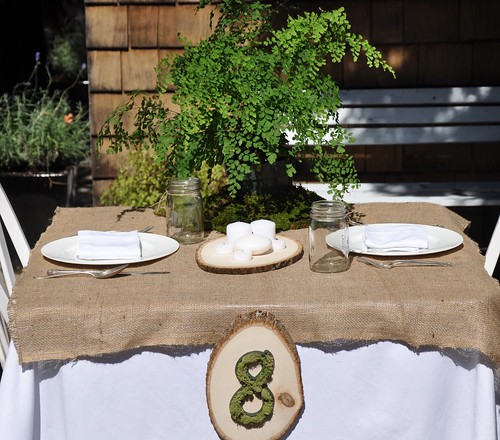
***Note:  I made the MISTAKE of leaving the moss number out in the sun for a couple days...and with 100 degree temps, it dried out and faded somewhat.  So it doesn't look as great as it did the day I made it.  So if you do something like this...keep in the shade until the big day!  Also, I know I am showing you this second, but it was the last photo shoot I did and I was running out of time, so the styling is simple...
DSC_0103
But the colors on the table sure do look pretty...
DSC_0121
DSC_0123
And as another option, you could always place the numbers on the table...
DSC_0137
Whew...you still with me?  Stay tuned for part II - promise it isn't as big as this post!

~ Ciao

...photography by me
4.22.2010

~ beach grass + moss ~

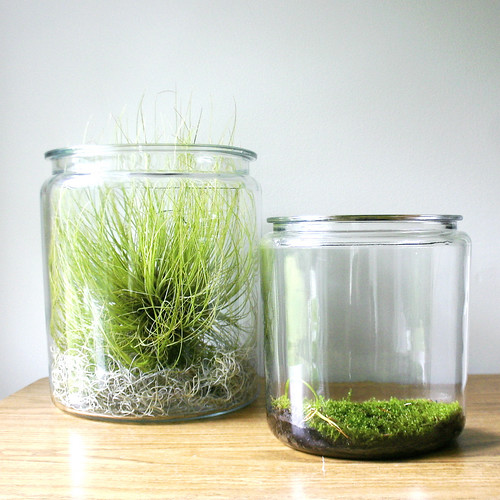
As I mentioned last week in my ~ swamp thing ~ post on luna and chloe (my other blog), I love the moss that hangs from the trees in Florida.  And with being at the beach yesterday and seeing the grass...I knew the combo would be very cool!  So you could imagine my surprise when I found this picture yesterday with the jar on the left filled with both (granted it's not the tree hanging moss, but it is very similar)...
Wedding
What a great combination the two make!  And I love that it pulls in green as opposed to blue, which is always used with beach weddings.  Simple, sophistication is what I would call this combo...especially when used as centerpieces.  The moss in the jar on the right would be perfect for a woodland, rustic wedding when combined with some other elements...twigs, mushrooms, etc...  And the jars can be found just about anywhere...Target is where I got mine.  And after the wedding the jars are great to have on hand!  I have filled mine with everything from sangria, cookies, utensils, soap...really anything!

~ Ciao


...image ethan ollie found via forget me knot weddings, via frenchie & flea

2.02.2010

On the Table: Moss & Grass

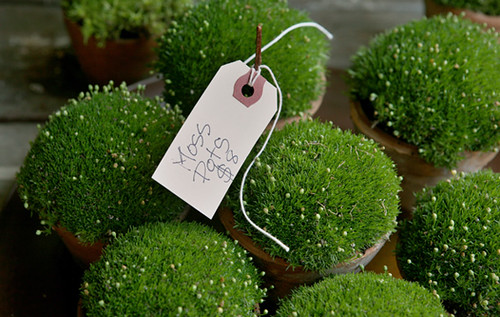
I have to be totally honest here: I L-O-V-E moss! Well, this kind of moss at least. And as I am sitting here thinking of Spring, I couldn't help but state my love for it. You are probably thinking I am totally off my rocker. Anyway, can't you just see these little pots lined up on your reception tables.  My initial thought is that they are perfect for an outdoor reception, or in a barn...but in the garden or on a terrace would be fabulous too.  It's the pop of green, and a reminder of Spring that I love so much.
Flowers
And if the moss really doesn't do it for you...how about grass?
Flowers
Both are great ideas for the table.  All that is needed is a couple other little items on the table and your done.  A great cost effective, do it yourself alternative to flowers.

~ Ciao

...image via molly wood garden design