Showing posts with label Chandelier. Show all posts

7.06.2011

Inspiration to Creation 1: The Projects

So finally happy it's lunch time, as I am starving!  Goodness, this girl needs to eat...which I will be doing as soon as I get this post finished ;-)

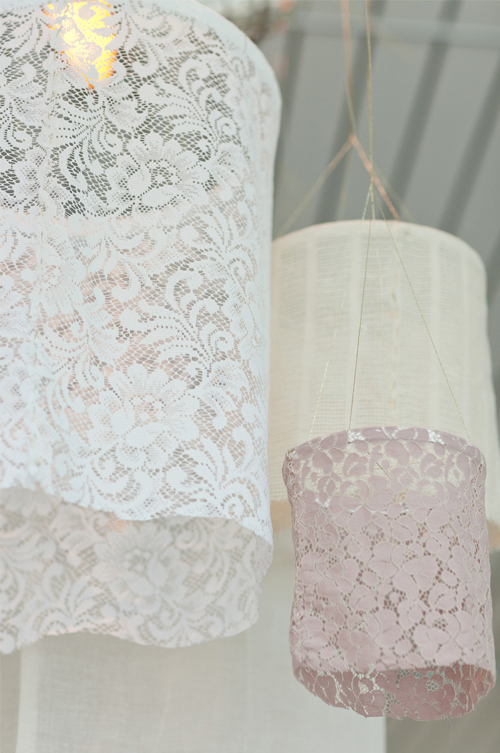
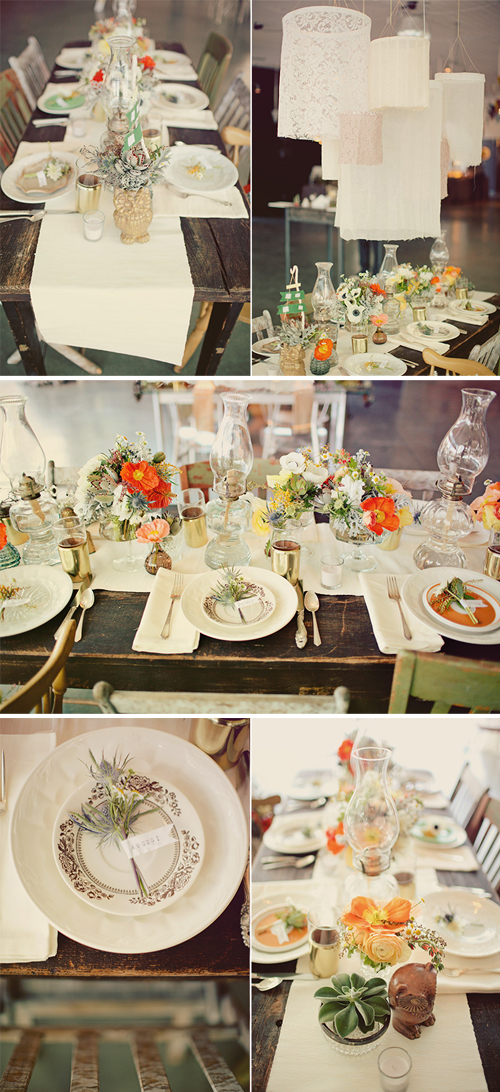
So today's part of the Inspiration to Creation series is 'The Projects' - better known around LCW as homemade.  There are two projects in particular that I wanted to do for you today.  The first one being the fabric chandeliers.  Remember, the inspiration...
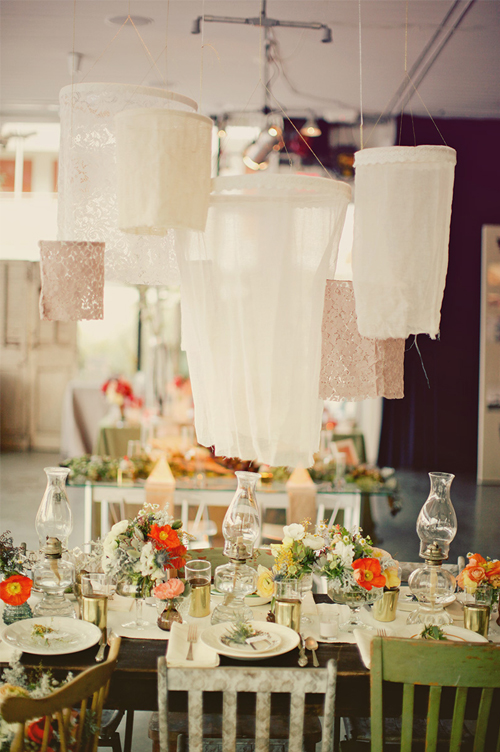
Inspiration to Creation Projects
And a close up for you...
Inspiration to Creation Projects
I love them, don't you?

Alrighty - here is what you need to recreate them:
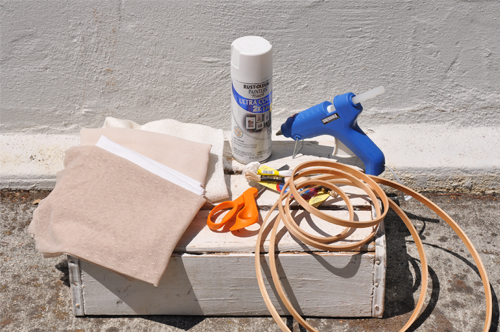
IC-2

  1. Embroidery Hoops - always an odd number
  2. White Spray Paint - optional
  3. Variety of different fabrics in sheer and lightweight materials
  4. Glue gun
  5. Thread/String
  6. Scissors
  7. Needle and Thread - optional
First:  Take apart your embroidery hoops - we are only going to be using the inner portion of the hoops for this project.  Once you have all your inner hoops, if you want to spray paint them like the hoops in the inspiration picture then now is the time to do so.  ***However, so that I can reuse my hoops again I am not going to spray paint mine.  I try and recycle as much as I can, and save some money at the same time.

Second:  When the paint is dry, working with one hoop at a time, take a piece of fabric and wrap it around one hoop.  Mark the spot on the fabric where it should be cut, then cut the fabric to size.  Do this for all the remaining hoops and fabric. 

Third:  Once all hoops and fabrics are measured, run the glue gun around a portion of the inside of the hoop.  Working quickly so the glue doesn't dry, place the end of the fabric onto the glue from the outside of the hoop!  Remember - you want the outer portion of the hoop covered, so you MUST start from the outer side of the hoop and fold the fabric over to the glue on the inside.  Continue this process until all the fabric is glued to the inside of the hoop.
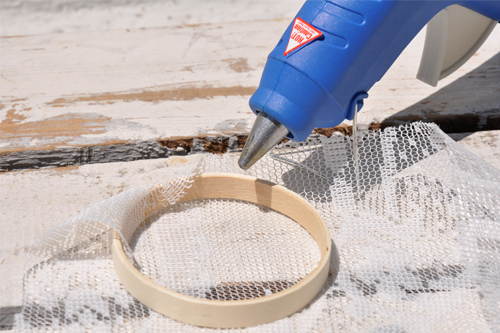
IC-3
Fourth:  When the glue is dry you are ready to add the string to hang the hoop from.

Fifth:  If you want you can stitch up the ends on the hoop so the fabric is attached together and doesn't hang open you can do so.  Just keep in mind you don't want to pull the thread too hard as you stitch otherwise it will pull the fabric and it will hang funny.  This is optional...you could always take a short cut and add a drop of glue or even a glue dot (I heart glue dots and this was my quick and easy way) in a couple spots to keep the fabric together.  But really, it's your choice loves :-)

And here is your finished product...minus the thread/string to hang...oopsies forgot about that when I took the picture...
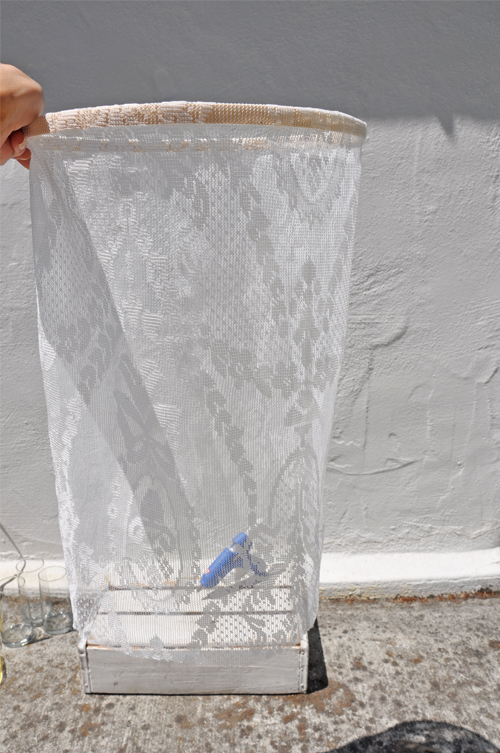
IC-4
So sorry about my hand in the picture - there was just no place to hang it from...so I thought I would just hold it ;-)  Hard to hold something and take a picture at the same time!  However, it really does look cute...and I can't wait to see it and more over the table!

The second project is recreating the gold glasses...
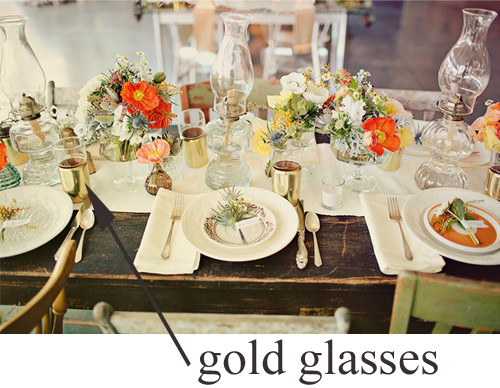
Inspiration to Creation Projects
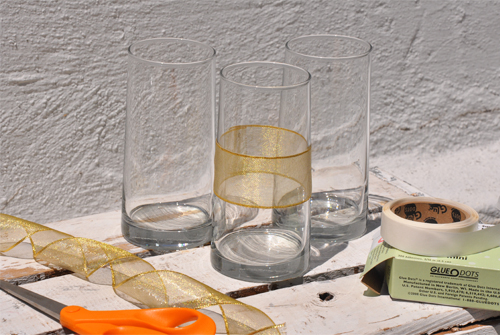
You can always look for glasses with gold detail(s) at garage sales and antique stores to use for your event.  However a super quick, easy and cost effective option is always to add a gold ribbon around plain clear glasses...
IC-1
Gotta admit - NOT my fave...but it works and will pull in a nice little pop of gold onto the table.  I was thinking of the option of painting them - which I did...but it was time consuming after a primer, two coats of paint and a sealer, and the end result looked like gold painted glasses.  Eeks - not the look I was going for.  I actually like the ribbon better, if you can believe that.  I have one other option that I will try tonight, and if I like I will share with you tomorrow! 

Tomorrow I am showing you two more projects to make in order to recreate this table...and then Friday I will be putting it all together for you!  I'm off to eat now...see you tomorrow with more goodness ;-)

~ Ciao

...images 1 and 6 photography brandon kidd, image 2 photography by our labor of love via honey and poppies, and all other photography by luna and chloe weddings

7.05.2011

Inspiration to Creation No. 1: The Details

Goodness, you still with me? Three posts today is a lot!  However, this is the Inspiration to Creation post that I have been waiting all day for ;-)  I do think this is going to be an amazing series, and I hope you love it and find it helpful!  Can't wait to hear your feedback throughout the week.

Okay first things first!  On Friday I showed you the inspiration pictures, so today I want to focus on the details.  Remember I am taking this step-by-step, and the first step is figuring out what makes up this gorgeous table decor.  My first step if I want to recreate a look is to study the picture(s) of the look and then jot down the details of the design.  So again, here are a couple of pictures for you...
Inspiration Creation Details
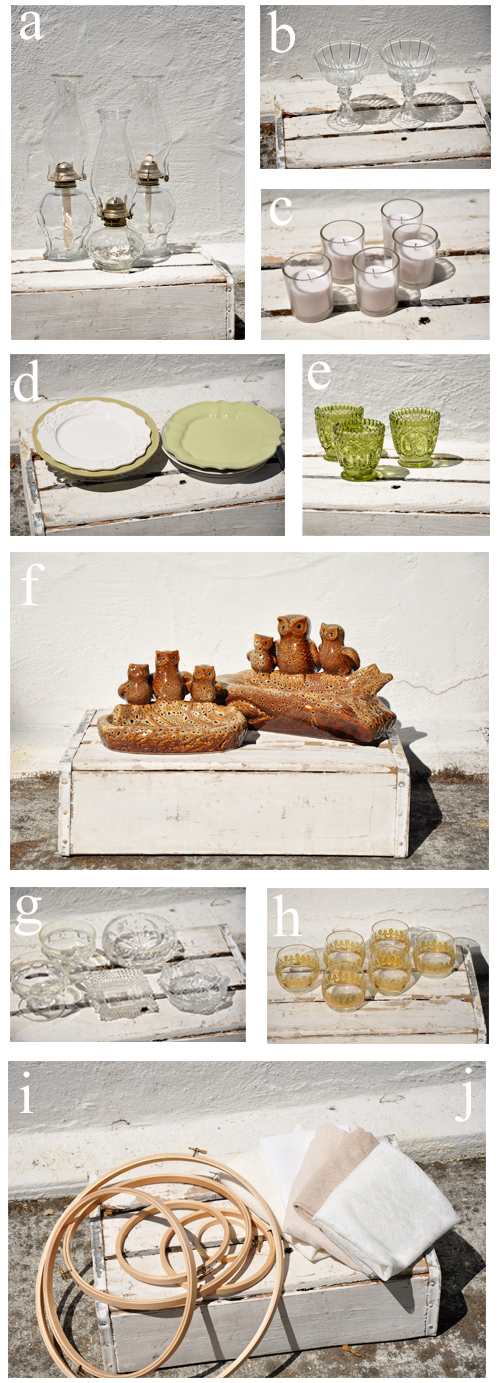
Did you study the pictures, and make some notes as to the details?  Yes, fabulous!  Here is a list of the details that I jotted down after I spent some time studying them:

     a.  3 oil lamps
     b.  2 clear glass compotes for the larger flower arrangements
     c.  small votives
     d.  6 mismatched salad plates
     e.  small colored glass vases to hold a couple of sprigs
     f.  owls
     g.  mismatched clear glass bowls for succulents
     h.  6 glasses with gold detail
     i.  7 embroidery hoops
     j.  a variety of sheer and lightweight fabrics
     k.  white table runner
     l.  6 white dinner plates
     m.  6 white napkins
     n.  6 sets of silverware

Did you see them all in the pictures?  A handful of them are obvious, but a couple of them you might have to go back and have another look to notice ;-)

And after looking through what I already had, and a quick trip to Home Goods (one of MY happiest places on earth - hehe) to pick up two green plates and a couple owls, here are most (a through j listed above) of the details I will be using to recreate the look...
Inspiration Creation 1 Detail
You will notice that not all of the details are identical, but they are similar.  The green votive holders (e above) I found at Michael's in the dollar bin for $1.50 each, and plan on using as vases on the table.  I know I have some owls...at the back of my storage unit, that I couldn't get too...but the two above I purchased from Home Goods (were they had bunches of them, in a couple other colors too), and I thought they would work well as I plan on putting succulents in them!  Also, the glasses are on loan from Aunt Millie (love her to pieces I do) and not only do they have gold on them, but a green color too.  However, I am working on another option for gold glasses...I'll have to let you know if it works out...so you'll just have to wait and see ;-) 

There will be more to come every day this week my dears - including a fabulous DIY using items from the dollar store - so be sure to check in everyday at noon as I have decided to do 3 posts a day this week!  See you tomorrow.

~ Ciao

...photography and images via brandon kidd & luna and chloe weddings

4.14.2011

Over the Moon

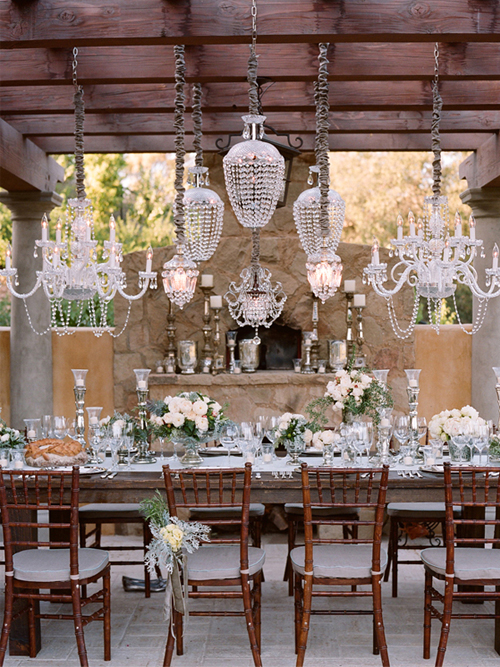
...about all of these chandeliers!
Darling-Detail
Eeks!!!  Holy moly this is so gorgeous, no?

However, I want to make a small point here...while the chandeliers above are fabulously gorgeous (and would be pricey if you had to purchase on your own)...what really makes the picture above so over the moon for me is that there are mulitples of them!  One chandelier in the picture above would be great, would it not?  However, having multipe chandeliers is what really makes a statement without being too over the top...or what I call "over the moon". 

My point:  mulitples don't necessarily have to break the bank or budget to be over the moon.  A lot of homemade paper chains, golden paper stars, bunting, twinkling lights, hanging mason jars filled with candles, etc.. are all fairly inexpensive items...yet, all over the moon in my book!  So when you are thinking of adding a detail to your big day, think about how to take it from great to over the moon.  For example, three paper chains over the tables are great, but 5 or 7 would be over the moon! 

P.S. - Just don't go over the top...unless that is the look you are going for...and then go big...really big ;-)

~ Ciao

...photography by allyson thayer gowdy

4.05.2011

Tuesday Thought: 'Chandelier' of Flowers

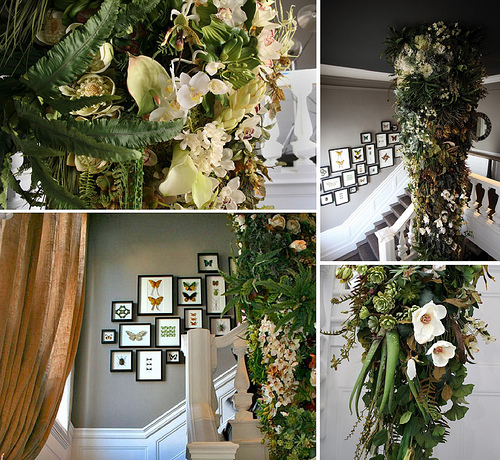
Happy Tuesday my loves!  How is your week going so far?  Just lovely I hope.  Well if it hasn't been going lovely so far, how about some flowers to make it a little bit better?  And I'm not talking any ol' flowers.  Oh no, I am talking a huge chandelier (of sorts) of them like you have never seen.  So here is your Tuesday Thought for today:  Create a chandelier of flowers for decor at you wedding like this...
Tuesday Thought
Just look at this amazingness...
Tuesday Thought
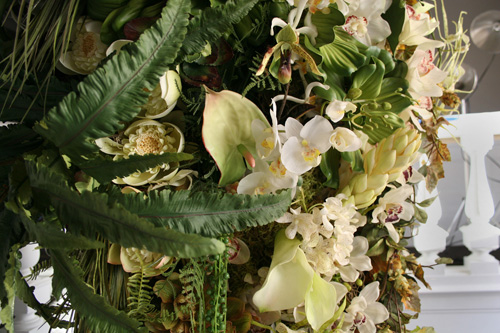
A close up for you...
Tuesday Thought
When I first ran across this picture on Coco + Kelley (LOVE her blog) I was in utter awe.  But then I thought - how absolutely fabulous would this look at a wedding.   Granted, it doesn't have to be this grand, a smaller version would be just as gorgeous, but something similar would sure make a gorgeous statement flanking your ceremony area, no?  Or anywhere for that matter!

Oh my, I can just picture it...natural linens on the tables (like the curtain above), butterfly accents, low and lush arrangements in long narrow wooden containers on the tables...  Can you picture it?  Just dreamy, no?

~ Ciao

...image via coco + kelley, via yedda morrison, anh-min, and flickr (edited)

1.04.2011

~ tuesday thought: black lace ~

Good Morning lovely readers!  Hope you are well this morning.  Me = exhausted...but a good exhausted!  I am working on two guest post photo shoots, on top of this one for today, and my Homemade post for Thursday...so running on low fuel.  Please bear with me and my sparse table decor!  Even Mr. Big said:  "Isn't it kind of sparse?" (in the sweetest possible way!) I said yes, but I have to much to do and need some sleep.  And I know you will forgive me ;-)

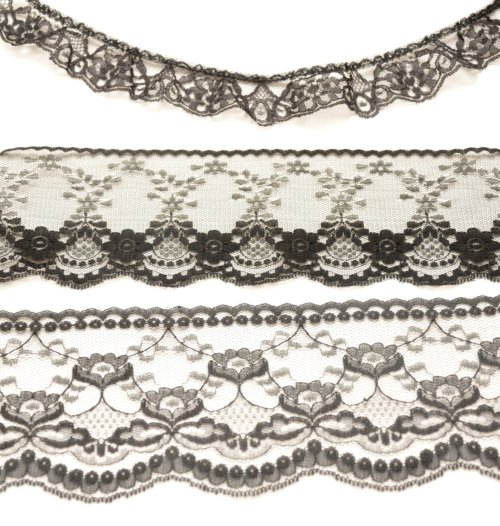
So for the first Tuesday Thought of the year, I thought I would play off of one of my previous posts.  Do you remember the cake plate edged in black lace?  Click here to see.  Anyway, I've been playing with that lace a little bit and thought of some other ways in which to use.  Here are the three types of black lace I used (sorry for the bad picture)...
DSC_0045
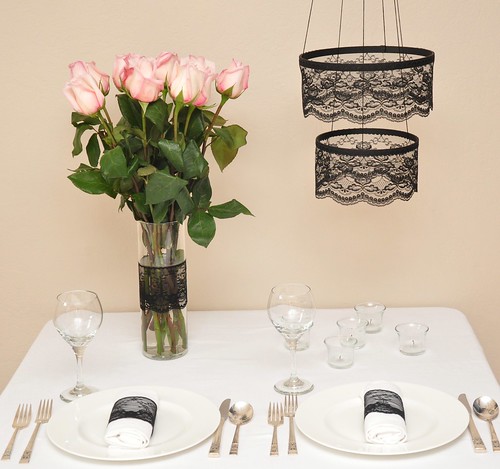
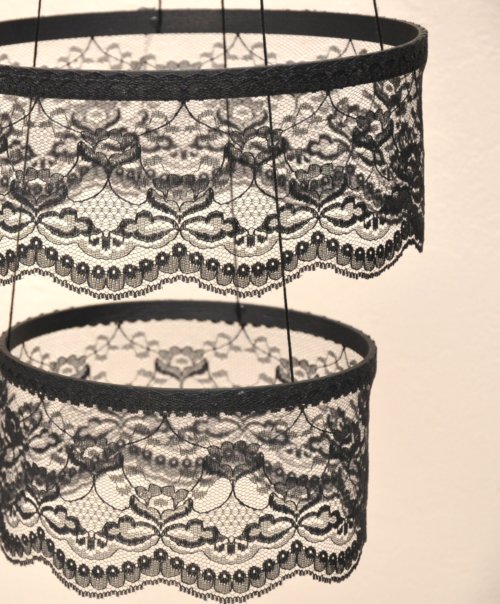
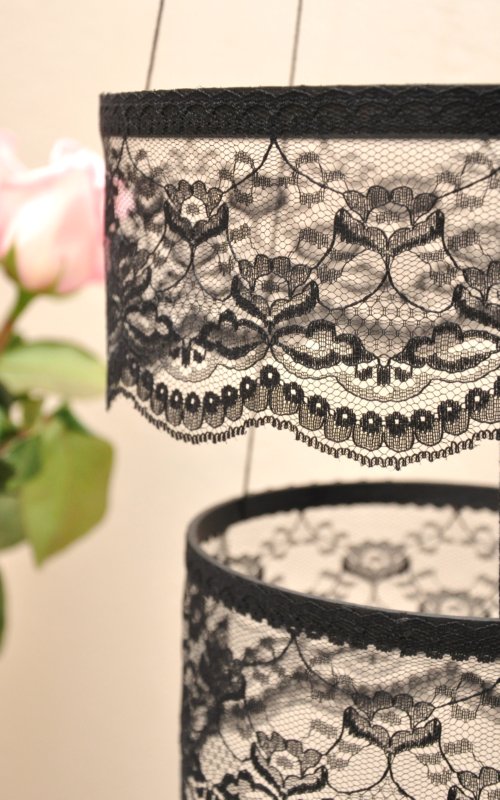
I used the wider lace for all projects, except the rosettes.  So let's have a look-see and see what I came up with.  First up, I made a very SIMPLE lace chandelier. 
DSC_0037
Tuesday Thought
Tuesday Thought
DSC_0027
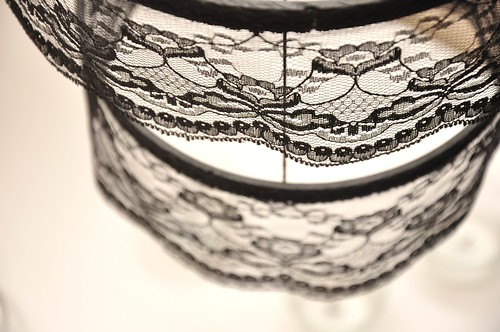
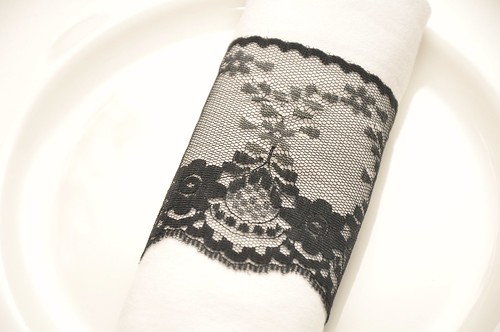
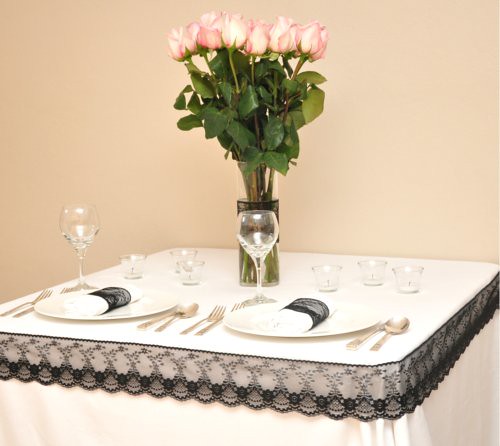
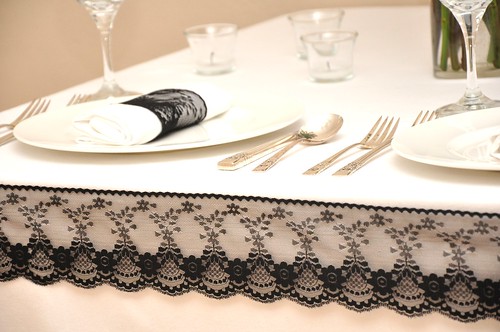
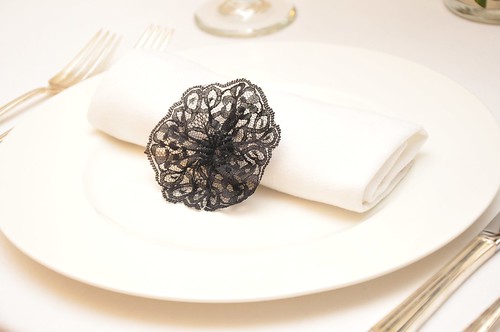
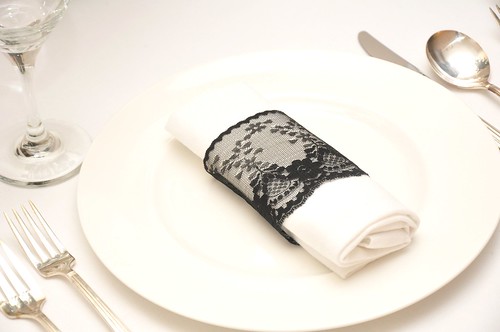
Yes, simple in the fact that all I used was two embroidery hoops(inside pieces only), spray painted them black, attached the lace using glue dots (the BEST thing ever...the key to use them is to roll your finger over them), and glue to attach the black string!  It really looks darling in person, but it's one of those things I have a hard time getting a great picture of.  A couple of other very simple was to use are wrapped around a napkin...
Tuesday Thought
DSC_0005
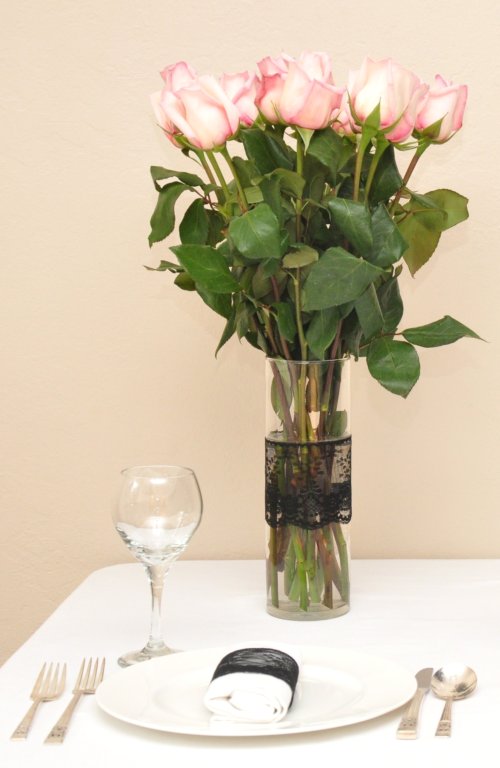
I love how the wider piece of lace looks, don't you?  Also, you could use it wrapped around a vase...
Tuesday Thought
Tuesday Thought
Or wrapped around the edge of the table...
Tuesday Thought
Tuesday Thought
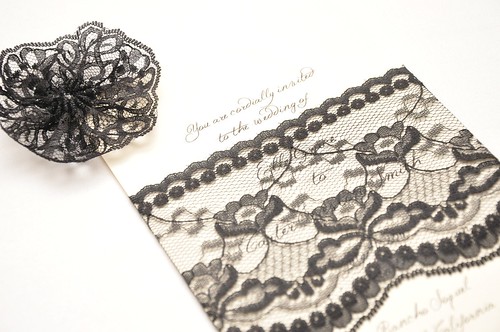
Or wrapped around an invitation...
Tuesday Thought
I love it made into rosettes with a needle and thread...
Tuesday Thought
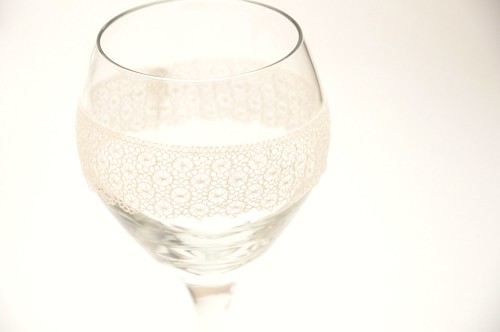
And as an added little bonus, I wrapped it around a wine glass and adhered the lace on the back with a glue dot...but used cream so you can see that it looks different, but still pretty.
Tuesday Thought
Tuesday Thought
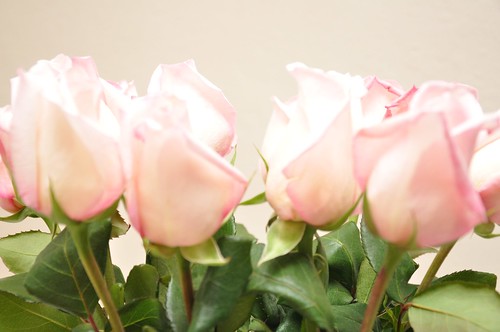
Oh and I can't forget the pink roses Mr. Big gave to me...
Tuesday Thought
Not only are they gorgeous, they smell heavenly.  (Thanks honey!)  This is exactly how I found them when I came home.  I didn't want to mess with his arrangement of them - so cute! 

Well, there you have it my dears - a couple ways to incorporate black (or other colored) lace at your wedding or event.  There are handfuls of other ways to use, but just wanted to give you a couple today!  Hope you enjoyed this first Tuesday Thought of the year.  Have a lovely day!

~ Ciao

...concept, design, styling & photography all by luna and chloe weddings
7.28.2010

~ who says ~

...you can't see stars from inside a tent?
Wedding
I think these are spectacular, don't you?  Add to that the two chandeliers, and I am in love! 

~ Ciao

...photography bonnie tsang

7.21.2010

~ who says... ~

...you can't have a blingy chandelier at your wedding?
Who Says
Proof that it would be oh so glamourous!


~ Ciao


...image via style me pretty

4.20.2010

~ tuesday thought: starry night ~

I am in love with the inside of this tent...
Wedding
Not only are the chandeliers spectacular...but the stars are making me swoon!  Love, love, love.  Wouldn't this be a great idea to do inside your tent?  Granted this picture is pretty glam, but no matter what the theme or style of your reception this idea would work.  And if stars aren't your thing...then choose something that is (this is where you can get really creative).  Yet, here is your Tuesday Thought...even if you aren't having a tent wedding...why not string up some stars over your reception location?  String them between trees, or from poles over the dance floor to add just a little something special!  And one last thing...how dreamy would they be if you attached them to fishing line a couple inches apart (which makes them look like they are floating) and created a backdrop for your photobooth...just an extra little thought for you today.

~ Ciao


...photography bonnie tsang

3.05.2010

Sweet + Sparkly

I think it is only fair to tell you that I have an obession with chandeliers!  I L-O-V-E them!  They shine, sparkle and are down right glamourous in my book.  So when I saw this picture - I just knew that I had to share it with you.  How perfect is this...
Cake
...absolutely perfect, I think.  I really like the simplicity of the cake itself with the smooth fondant and simple black ribbon and bows - it lets the chandelier take center stage!  Simply swoonworthy.  Happy (Sweet + Sparkly) Weekend!  See you on Monday.

~ Ciao

...image via wedding style guide