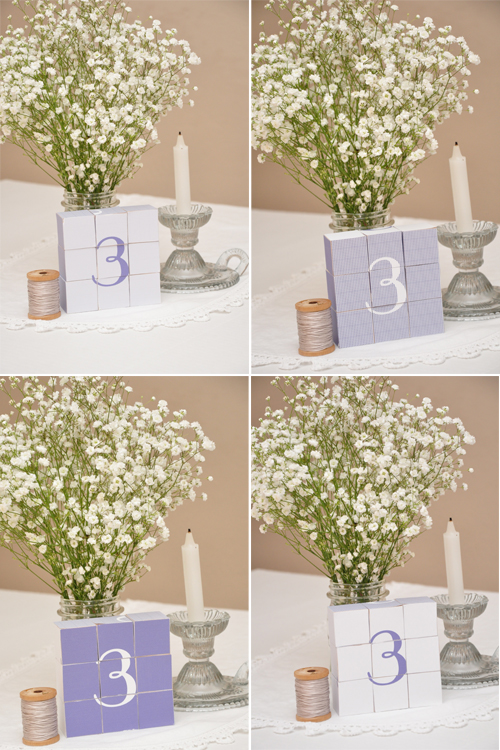

- 6 designs printed out. You will want to make the design 4 1/2 x 4 1/2 be careful not to go all the way to the edges as you don't want to trim off any words. Hint if you use a patterned background like I did for the table numbers it makes it easier than no background, as you can follow the lines of the pattern to cut out, otherwise it is measuring to get it right.
- 9 plain square wooden blocks 2 inches in size
- A Xyron machine - this fabulous little machine makes plain paper into a sticker. You could also use double-sided sticker sheets (8 1/2 x 11 in size) as well.
- Either a pair of scissors, a paper cutter or a ruler and Xacto knife to trim with.
- A pencil and ruler to mark and measure squares on the back of the design.
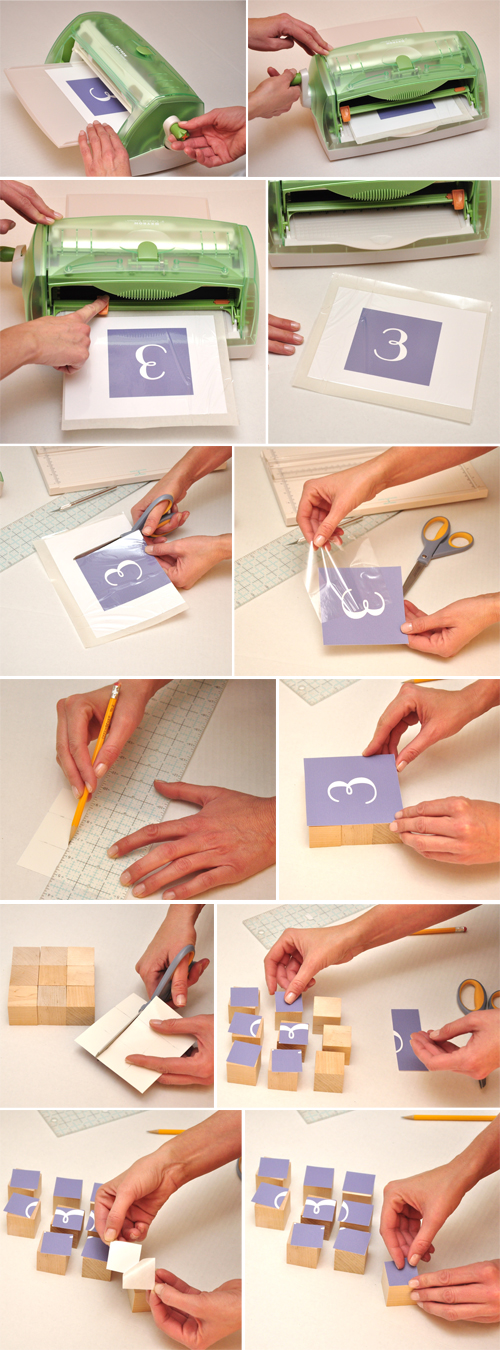
- I trimmed the paper before I sent it through the Xyron machine, as to save materials. Make sure to turn the handle slowly to pull the paper through. When the paper has come all the way through, use the trimmer on the machine to cut off. Images 1-4.
- Trim the edges off of the paper. And remove the top layer of film (this is just a protective coat). Images 5-6.
- Measure 1 1/2 and 3 inches from one side and mark a line at each. Rotate the paper 90 degrees and do the same - so you have a grid on the back. Image 7.
- You can check at this point that your design will fit on top of the blocks. Image 8.
- I then cut the lines and each line into a square. Image 9.
- Make sure to place the cut squares on the blocks as you go so you do not mess up the pattern. Image 10.
- Peel off the sticker. Image 11.
- Place one sticker onto one square. Image 12. If there is any overlap, trim it with scissors or an Xacto knife after each sticker is stuck. Repeat until all squares are done. Flip the blocks over and start again.
I know some were concerned about the cost of mailing; and while the cost isn't a $.44 stamp it is outrageously expensive either. Packaged in just a cellophane bag and place in a padded envelope the cost to mail it from California to New York was $2.92.
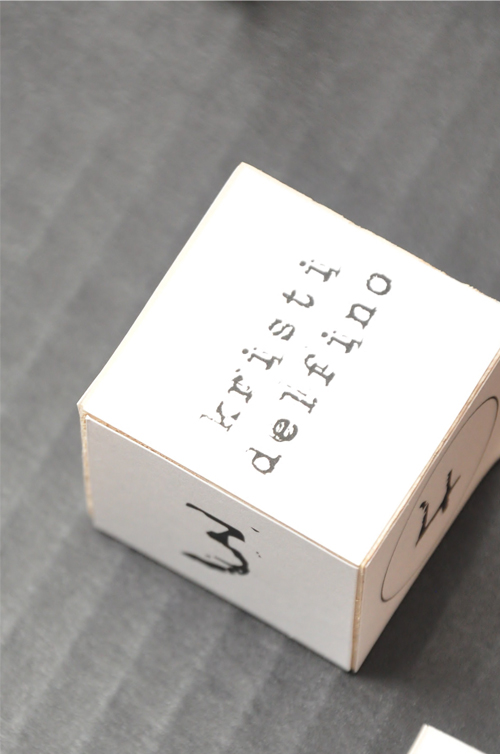
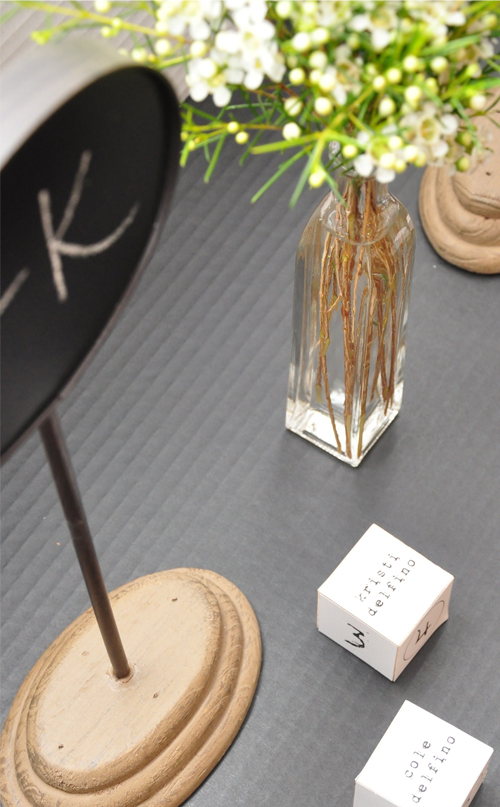
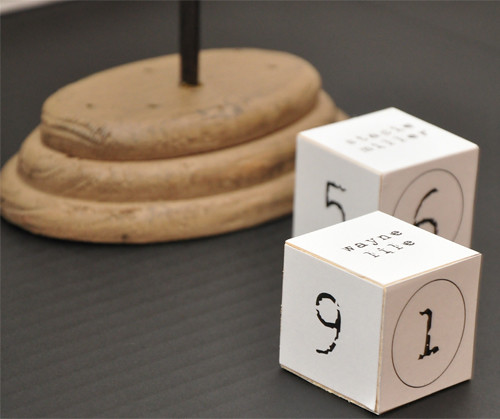
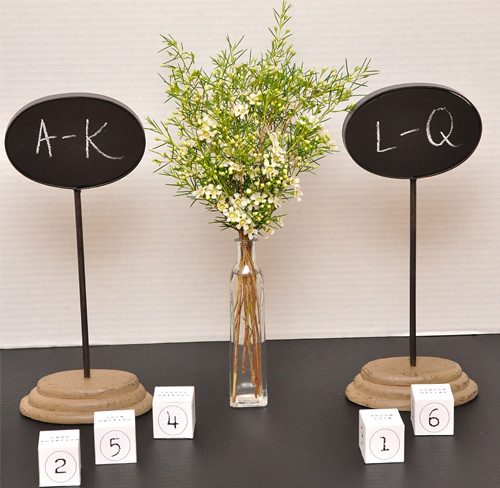
Okay, now onto the second idea I have for you - escort blocks. These are fairly quick and easy if you set up a table in Word. You follow the instructions as above, but you only have 6 squares to cut out versus 9. (If you would like I can e-mail you the template I created, just leave me a comment or send me an e-mail and I will be more than happy to send it to you.)

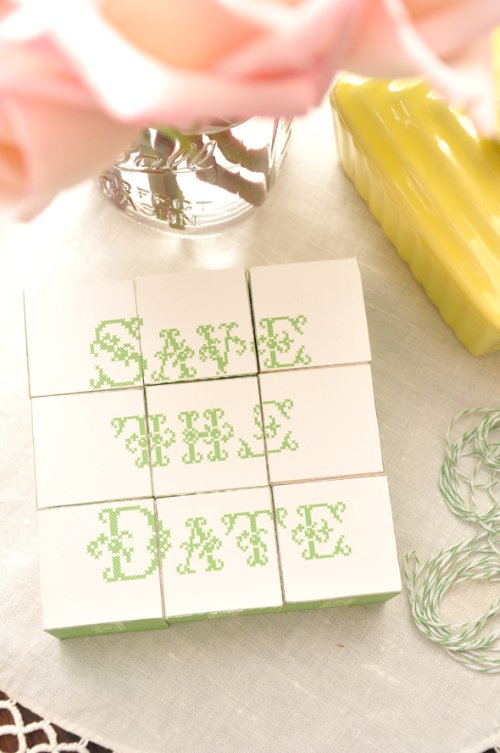
Also, I told you that I would include the fonts that I used for the Save the Dates posted on The Loveliest Day. I used a variety of cross stitch fonts, and all the fonts I used can be downloaded for free. If interested here is name and link for each font:
- Save the Date - Cross Stitch Delicate
- Date - Embroidery
- Names - Stitch Cross
- Location - Home Sweet Home Outline
- Heart - Home Sweet Home
- Made with Love - Costura Lt
So that about does it my dears. Please let me know if you have any questions, as I would be more than happy to answer them or assist in any way that I can.
Psst - And to let you in on a little secret, I saved $65.00 on the Xyron machine I purchased. How? At Michaels they are $129.99...but I had a 50% off coupon! Let me tell you, one of the best purchases I have made in quite some time. So if you are interested in buying one, find a 40 or 50% off coupon for Michaels so that you too can save some money!
Oooh and a couple more things - these blocks would be cute to use at a bridal shower, birthday party, a game night party, etc... They would also be cute as gifts, favors, etc...using pictures. Also, I would include one page with smaller images of all the designs to help solve!
~ Ciao
...concept, design, styling & photography all by luna and chloe weddings


This is amazing!!! Great ideas and an easy DIY!!! Thank you for sharing!
ReplyDeleteYou are just too creative! What a clever idea. Especially like the "escort blocks"--they pose a bit of a mental challenge for guests, too. Great! =)
ReplyDeleteThose are wonderful! What a creative project! :)
ReplyDeleteFirst- I want one of those sticker makers!! Then I am going to make bunches of these!! So cute.
ReplyDeleteI was waiting on pins & needles for this tutorial. I need a Xyron machine now!!
ReplyDeleteThe escort blocks are pretty amazing as well. Well done K!!!! xo
I am in awe of your creative genius... I simply don't know how you come up with these ideas all the time!!
ReplyDeleteGosh Kristi! This is so fun and so chic and so well executed!! Making me want to pull out my craft supplies and get to it!
ReplyDeletesuch a crazy amazing idea, Kristi!
ReplyDeleteEeek!!!! I need one of those machines!!!!
ReplyDeleteI love this! You are a fabulous inspiration once again!
excellent ideas! you are so damn creative!
ReplyDeleteYou are an absolute delight. I love visiting your blog to see what you've come up with. Truly rare talent, Kristi!
ReplyDeleteThese are just SO GORGEOUS!! I'm so in love with the idea. It' so unique :) You are, just magnificent!!
ReplyDeleteWow! I thought the Save the Dates were awesome, and these are just as clever! I especially love the escort blocks, and I can see guests having fun with the table numbers. Especially if you put some kind of riddle or message on them that was mixed up when the number was right so that after they found their table they had to 'solve' it - good icebreaker!
ReplyDeleteThank you lovely ladies for all your super sweet comments! I am telling you this little machine has replaced my addiction to glue dots!!! I have all these ideas spinning in my head that I could use this machine for ;-))) I highly recommend to anyone that wants to buy to do it - but use a coupon from Michaels to do so. I even bought a refill cartridge and saved 40% - gotta love that!! Happy DIYing my friends.
ReplyDeletexoxo
kristi
#1) AAAAHHHH!! HOOORAAAAAY for the new blog look! I just adore it!
ReplyDelete#2) Can I please just peak inside that brain of yours for about 5 minutes?! BEYOND talented! xoxo
This project is fabulous!
ReplyDeleteCiao and thanks for sharing!
Suze
Love that you made them with numbers too! SO smart!! :)
ReplyDelete