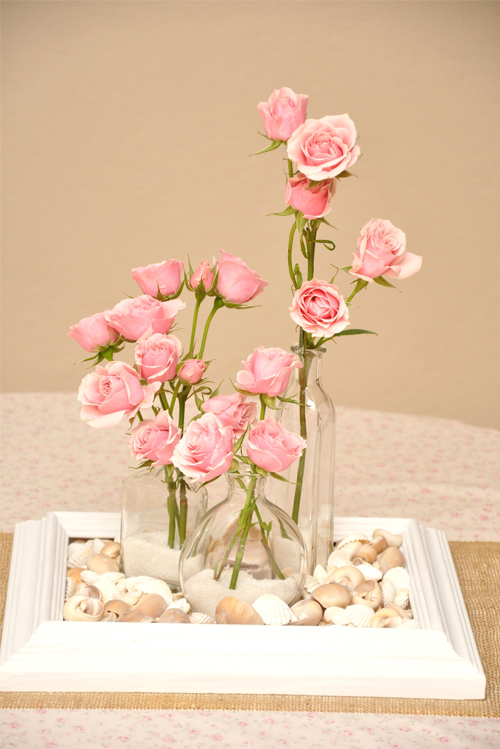
But it got me thinking...how could I bring a little beach to me while I am stuck inside working on projects? And taking a look around at the disaster I had created on the back patio (normally I am pretty organized), I found just the elements I needed for a cute DIY project for you today. This is what I created to bring a little beach into my world...
And I think this shell filled frame would make darling centerpieces for a beach wedding, don't you? Or a beach inspired bridal shower!
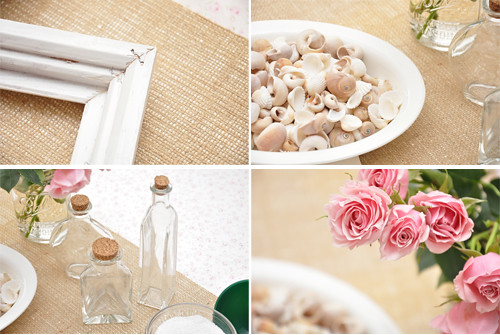
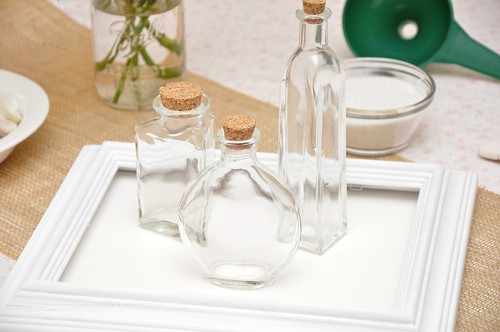
So are you ready to get crafty with me? If so, here is what you need for this project:
- A picture frame (that has some depth to it)
- Shells
- Foam core board
- Rotary cutter
- Heavy duty tape (I used packaging tape but I forgot to put it in the picture)
- 3 small bottles (these are from Beverly's for $1.29 each)
- White sand
- Funnel (to get the sand into the bottles easily)
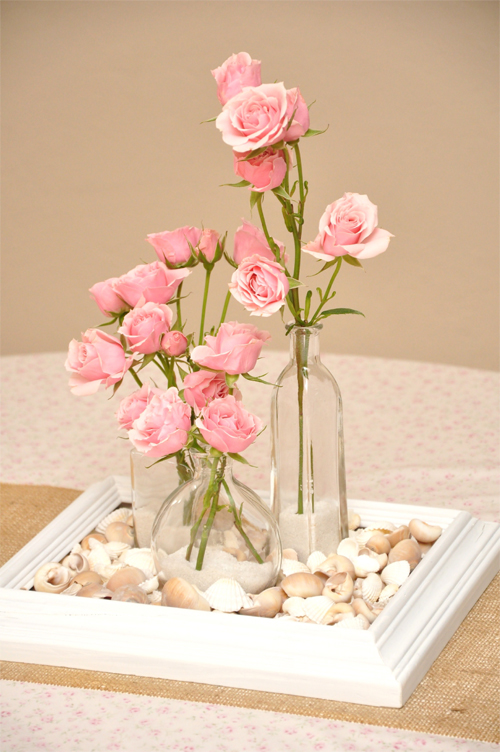
- Small fresh blooms
Here are some of the details...
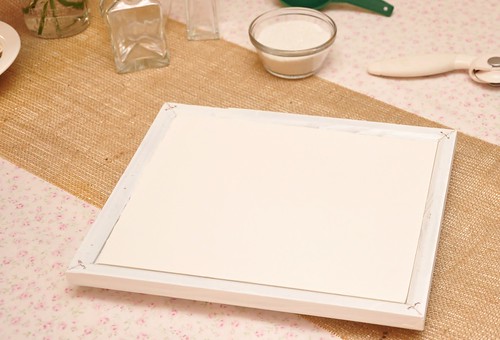
Using the rotary cutter, cut a piece of foam core to fit the closet edge to the back of the frame. This will allow you space to hold the shells and bottles. Once the piece is cut, place into the frame...
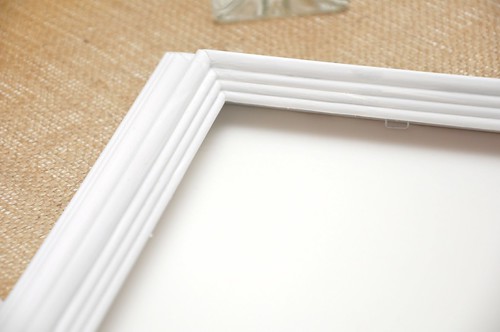
...and then use the tape to hold it in place. (The picture above I had to mess with the colors in order for you to see the foam core board without a huge white spot and I hadn't added the tape yet.) Next, flip the frame over. You will notice the space between the foam core and the top inside edge of the frame...
...this is to hold the shells and bottles in. Place your bottles where you would like them (you could always use a couple of glue dots to adhere them to make sure they won't tip over if the table is bumped or an earthquake happens...yes, I try and think of everything!)...
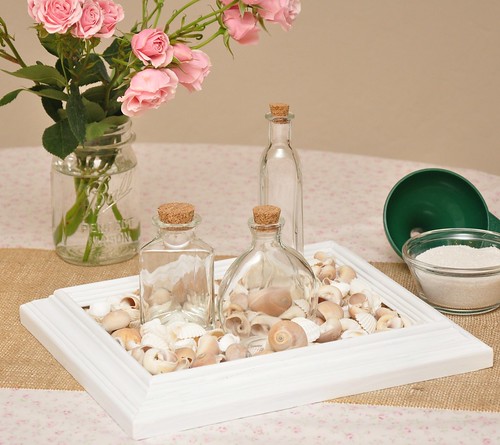
Once the bottles are where you want them, then add the shells...
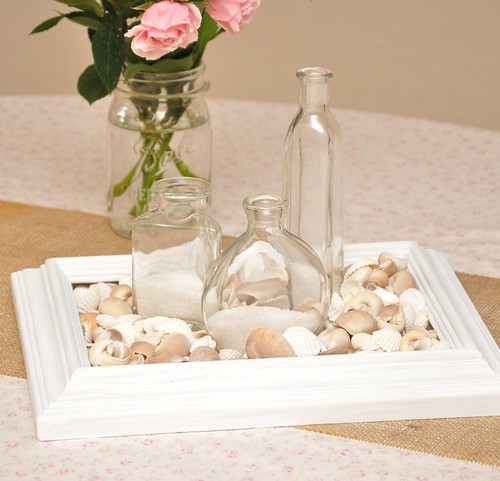
Remove the corks if they have them, and add the sand...
Remove the corks if they have them, and add the sand...
...and viola! A pretty centerpiece that is perfect for a beach wedding, a beach inspired bridal shower, an event or just around the house.
And you know me...there are lots of other options that I thought about...painting the frame a color, using beach glass instead of shells...play around and see what you create!
Don't forget to be sure to see my Homemade post on Thursday. This week is the tutorial for how to make the fabulous wood block puzzles I created for my guest post on The Loveliest Day...plus I will show you another way or two on how they can be used.
~ Ciao
...concept, design, styling & photography all by luna and chloe weddings



Very stylish!
ReplyDeleteOh wow! Those roses are so precious.
ReplyDeletei need this right now ...this freezing weather is driving me crazy!
ReplyDeleteYet another cute idea from the master of DIY!!
ReplyDeleteso cute! another great diy idea..you are on a roll! love it!!
ReplyDeleteYou are too sweet and we love this project! :) So happy our beach shot inspired you - you are just so creative! A + N
ReplyDeleteHoly crap. You are brilliant. Come decorate my house.
ReplyDeleteVery cute and not overly beachy! Love it! I live by the beach so I see it go cliche and cheesy all the time, but this is very chic and sophisticated! Amazing as always dear!
ReplyDeleteWhat a simple yet beautiful centerpiece idea! I love it!! You're so creative!
ReplyDeletethis is such an awesome project...i can't get over the fact that you just "happen to have these things" around to make such a beautiful project! i love the frame base!
ReplyDeleteI love this! Shells can be tacky, but this is the perfect way to bring them in to a centrepiece, I think. So pretty!
ReplyDelete