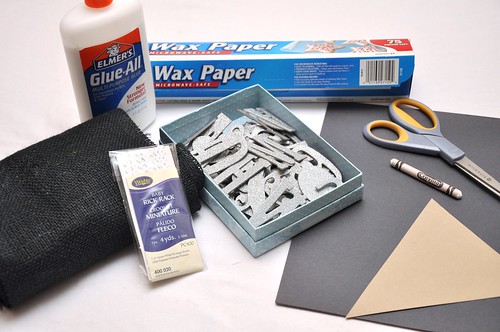
So here is a list of supplies you will need for this homemade project:
Black burlap
Elmer's Glue
White Baby Rick Rack
Wax Paper
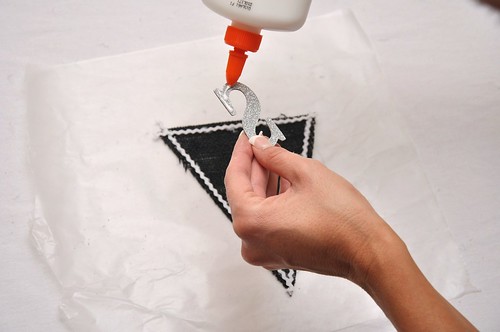
Silver chipboard letters
A triangle in the size you want
White crayon
Scissors
Black construction paper
Spray adhesive (which is not in the picture...oops, sorry)
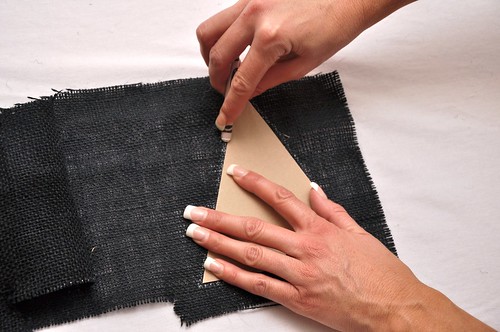
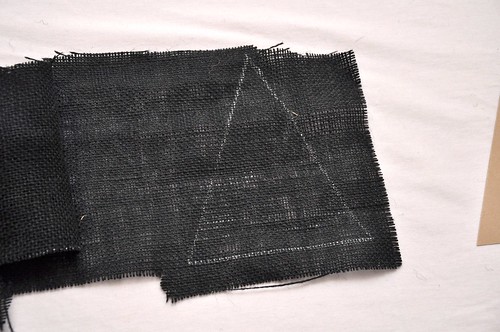
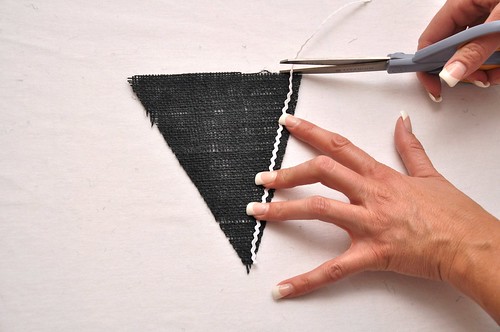
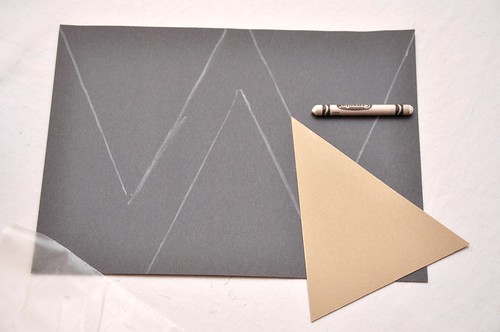
Step 1: Take the burlap, place triangle on top, outline the shape with the white crayon, and then cut out.
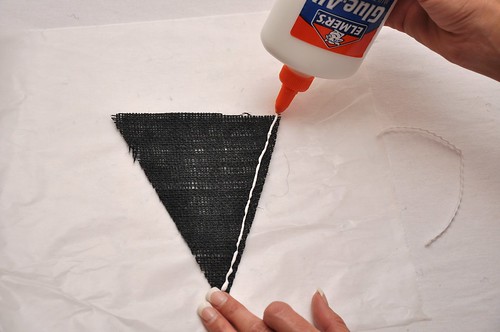
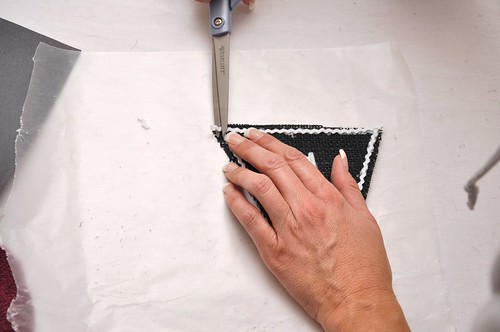
Step 2: Next cut the rick rack the length of the sides. Place a piece of wax paper down to avoid the glue going through the burlap and sticking. Run a line of glue down one side and place the rick rack on top. Do the same for the other two sides.
***As you can see in the picture above - there is glue around the rick rack that looks sloppy. Don't worry about getting glue on the outside of the rick rack...the glue will dry clear and you will not see it.
Step 4: If there is any rick rack hanging over the edges be sure to trim so it looks neat and clean.
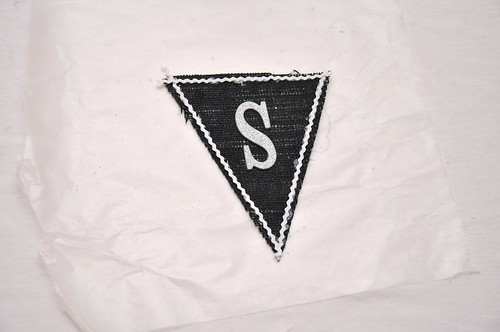
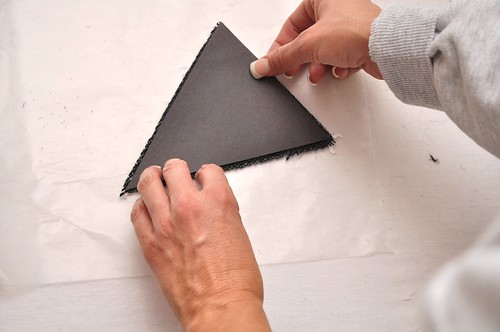
Step 5: If you are hanging the bunting against something like a wall, fence, etc...then you do NOT have to do Step 5. However, if you are hanging the bunting from a tree, over a table, between posts, etc...then you will need to add some construction paper to the back of the burlap, otherwise the light shines through and you cannot read the letters. NOTE: this only has to be used if you are using burlap. So for this step you will need to trace the triangle onto the construction paper, cut out the triangle and then use spray adhesive to attach to the back. NOTE: when placing the construction paper try to line up on the backside with the rick rack...so it's not up against the edges (see pic below)...you will also need to trim off the top of the construction paper a little since you are raising it up on the burlap.
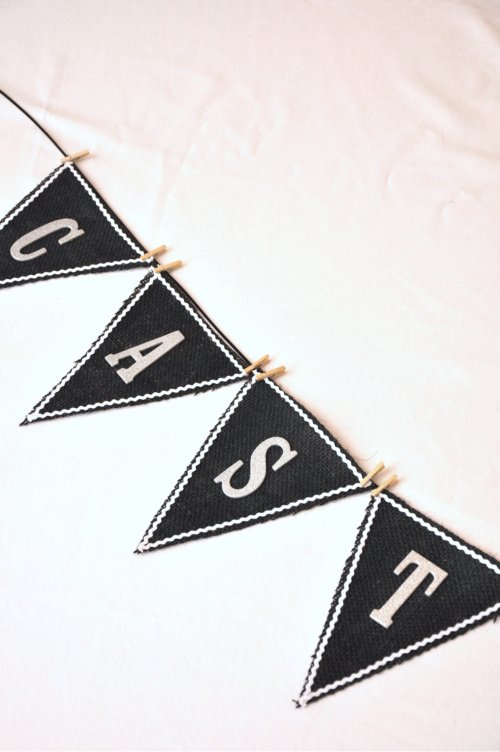
Step 6: Repeat until all letters are done. And finally...attach you flags (I used mini clothespins for the photo) and your done!
Ta da! The whole process does not take that long...I know it seems like it with the step-by-step, but it does go pretty quickly. I hope you enjoyed this homemade project. I can't wait to share my photoshoot with you next Thursday!
~ Ciao
...photography by me and Mr. Big




so cute! love all your d.i.y ideas lately!! keep up the good work lady!!
ReplyDeleteyou.are.too.cute.for.words.
ReplyDeleteSo cool Kristi!!!! Love this for Halloween!!!
ReplyDeleteI am so in love with this project, sissy! I love the ideas and my what pretty hands you have LOL
ReplyDelete:-) I would know those hands anywhere! This is a fantastic idea!! Cannot wait for the Halloween pics next week! xo
I just love you, i really do. This is a fabulous DIY project!
ReplyDeleteSO much fun! What a great project!
ReplyDeleteI'm a huge fan of bunting and I just LOVE this idea - it's adorable.
ReplyDeletelove the bunting, especially how you used black burlap. :)
ReplyDeleteThis is gorgeous... love the rick rack!! And I'm going to to guess that you always have perfectly manicured hands!! Great job once again!
ReplyDeletethis is perfect for halloween! loves it!
ReplyDeletei heart bunting! this is great...i cannot wait to see next thursday post!
ReplyDeleteSuper, super cute!! Excited to see your post next week!
ReplyDelete